Keep Oven Spring When Hand Stretching Pizza Dough for Home Cooks
Master press, V press, and knuckle drape. Use a 30–60 minute warm up and 48 hour fermentation tips to preserve interior gas and get better oven spring.
Bring your dough to room temperature for 30 to 60 minutes, then shape it using hands only: press from the center outward, then knuckle-drape and let gravity finish the job. Two cues tell you it’s ready: a poked finger leaves a slow-filling dimple, and the dough holds its shape instead of springing back when pressed.
TL;DR:
- Allow dough to warm for 30 to 60 minutes at room temperature to relax gluten and prevent tearing during stretching.
- Use a sequence of pressing, V-press, and knuckle-draping techniques to shape dough evenly without tearing or creating an uneven crust.
- Rest the dough for 15 to 30 minutes if it shrinks back or tears to improve extensibility and reduce frustration.
- Prefer high-heat-resistant materials like semolina or 00 flour for dusting and transfer, while avoiding excess flour that can toughen the crust.
- Consider using pre-fermented, ready-made dough for convenience and consistent results, especially if short on time or new to hand-stretching.
Table of Contents
- How to Stretch Pizza Dough: Quick Checklist
- Getting the Dough and Workspace Ready
- The Stretching Technique: Press, V-Press, Knuckle-Drape
- Fixing Snapback, Tears, and Lopsided Shapes
- Flour, Dusting, and the Tools That Actually Help
- Timing and Fermentation: When the Dough Wants to Move
- What 48-Hour Dough Taught Us About Shaping
- Skip the Guesswork With Ready-Made Dough
- Where to Learn More About Shaping and Proofing
- Sources
How to Stretch Pizza Dough: Quick Checklist
Once your dough passes the poke test, the rest is mechanical. Follow this order and you’ll avoid the two most common failures: torn dough and a lopsided base.
- Pull the dough ball and let it warm 30 to 60 minutes at room temperature, checking with a gentle poke test.
- Dust the bench lightly with flour, semolina, or a few drops of olive oil.
- Press the dough into a flat disc with your fingertips, working from the center out.
- Use a V-press (thumbs and fingers forming a V) to widen the disc evenly, rotating a quarter turn between presses.
- Drape the dough over your knuckles or the backs of your hands and rotate slowly, letting gravity stretch it thinner.
- Move it onto a semolina-dusted peel, add toppings fast, and launch it into the oven within a minute or two.
That last step matters more than people think. Dough sitting on a peel too long starts sticking, and a stuck pizza is how peel disasters happen.
Getting the Dough and Workspace Ready
Cold dough tears. Warm dough stretches. That’s the whole reason temperature comes first on every checklist worth following.
Dough straight from the fridge needs about 30 to 60 minutes at room temperature if it’s same-day dough, or longer if it’s been sitting cold for several days. The gluten network relaxes as it warms, which is what lets it extend instead of snapping.
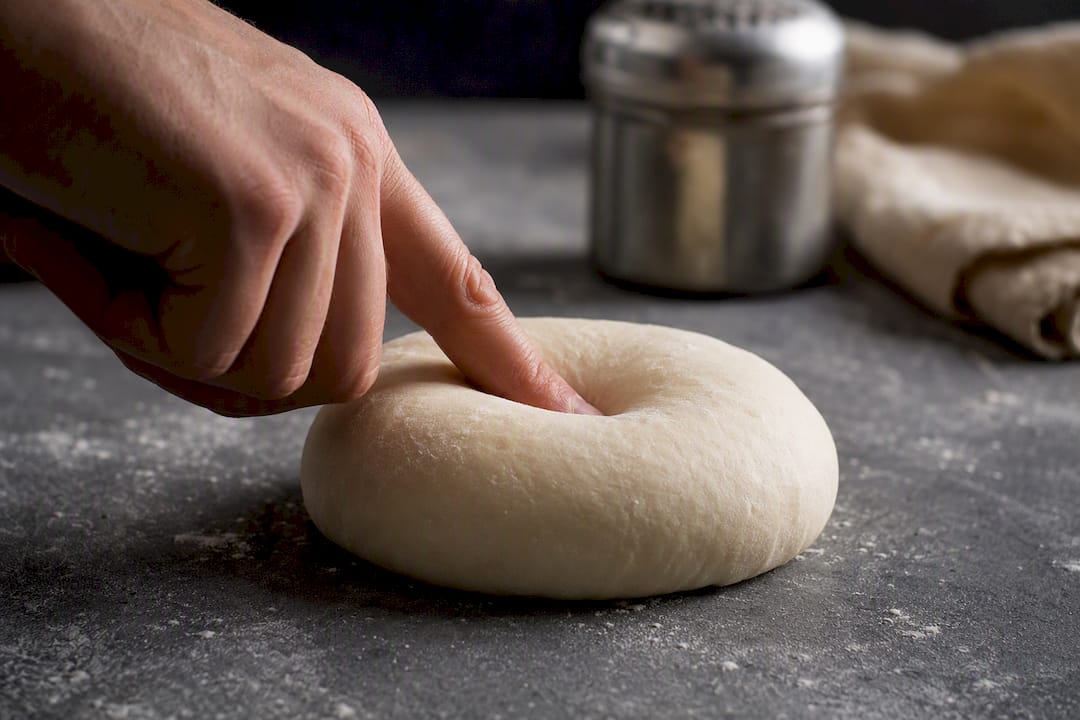
Pro Tip: Don’t just eyeball it. Press one finger into the dough about half an inch deep. If the dent fills back in slowly and partially, you’re ready. If it springs back immediately, give it more time.
Preshaping matters too. Balling the dough into a tight round during bulk fermentation trains it to relax into a circle later, so you’re not fighting a lopsided lump when it’s time to shape.
For the bench itself, you have three real options:
- 00 flour: fine texture, minimal grit, good for most home setups.
- Semolina: coarser, resists moisture better, and works especially well for high-heat ovens.
- A few drops of olive oil: prevents sticking without adding dry flour to the dough’s surface.
Whatever you choose, use it sparingly. Extra flour worked into the dough surface during shaping makes the crust tougher and can throw off the hydration balance you worked hard to nail during mixing.
The Stretching Technique: Press, V-Press, Knuckle-Drape
This is the sequence that actually matters, and it works the same way whether you’re shaping your first pizza or your five-hundredth.
-
Center press. Place the dough on your floured surface and press with your fingertips starting at the center, working outward in a spiral. Stop about half an inch to an inch from the edge. That rim becomes your cornicione, the puffy crust edge Neapolitan pizza is known for, and it should stay untouched by your fingers.
-
V-press. Once you have a flat disc roughly 6 to 8 inches across, pick it up and form a V shape with your thumbs and index fingers on each hand. Press gently outward while rotating the dough a quarter turn after each press. This widens the disc symmetrically instead of pulling it into an oval.
-
Knuckle-drape. Drape the dough over your knuckles or the backs of your hands, letting the weight of the dough do the stretching. Rotate slowly, moving your hands apart just slightly with each turn. Gravity finishes what your fingers started, and this stage is what separates a hand-stretched crust from a rolled one. A rolling pin flattens the gas bubbles that formed during fermentation. Knuckle-draping preserves them, which is exactly why hand-stretched dough puffs up better in the oven than rolled dough does.
-
Transfer. Lay the stretched dough onto a peel dusted with semolina, or onto parchment if you’re using a home oven without a peel. Working solo, drape the dough over one forearm to move it to the peel rather than trying to lift it flat, which is where most tears happen.
Aim for roughly 10 to 12 inches across for a personal-size pizza, with the center thin enough to see light through if you hold it up, and the rim left thick and untouched.
Fixing Snapback, Tears, and Lopsided Shapes
Every home cook hits one of these three problems eventually. None of them mean you’ve ruined the dough.
- Snapback (dough pulls back to a smaller size): Cover it with a damp towel and let it rest 15 to 30 minutes. Resting relaxes the gluten strands that are fighting you. Snapback usually means the dough is still cold, underproofed, or you worked it too aggressively during the press stage.
- Small holes or tears: Pinch the edges together and let the dough rest for about 30 seconds before continuing. Don’t try to stretch through a hole. It only gets bigger.
- Large tears: Re-ball the dough entirely and rest it another 15 to 30 minutes before trying again. Fighting a badly torn dough rarely ends well.
- Oval instead of round: You’re probably stretching more in one direction than you’re rotating. Slow down the rotation cadence during the knuckle-drape stage and let each turn do less work.
- Dough won’t get bigger no matter what: If you’ve overworked the gluten, accept a smaller pizza. A 9-inch pie that isn’t torn beats a 12-inch pie full of holes.
Patience beats force almost every time here. A short rest fixes more shaping problems than any amount of extra pressing, usually about 15 to 30 minutes.
Flour, Dusting, and the Tools That Actually Help
The material under your dough affects how easily it slides and how well the crust performs once it hits heat.
Semolina resists scorching better than cornmeal at the high temperatures a home oven or pizza oven can reach, which matters because burnt cornmeal turns bitter fast. Fine 00 flour works for lighter dusting on the bench itself. A light coating of olive oil is another option if you want to skip flour entirely during the pressing stage.
- Semolina: best for the peel and transfer stage, especially at high heat.
- 00 flour: best for light bench dusting during pressing.
- Olive oil: good alternative for a non-stick surface without added flour.
- Bench scraper: useful for lifting dough off the counter cleanly if it sticks.
- Wooden or metal peel: essential for getting the shaped dough into the oven without collapsing it.
Skip the rolling pin if you’re going for a Neapolitan-style crust with a puffy rim. It crushes the fermentation bubbles that give the crust its rise, flattening the whole disc into something closer to a cracker.
Timing and Fermentation: When the Dough Wants to Move
Fermentation time changes how forgiving your dough is during shaping.
Same-day dough usually needs 30 to 60 minutes to warm up after its final re-ball. Cold-fermented dough that’s spent several days in the fridge benefits from longer warming at room temperature. Longer cold fermentation builds extensibility and flavor together, which is part of why a lot of serious home bakers push their dough out to 48 or 72 hours before baking.
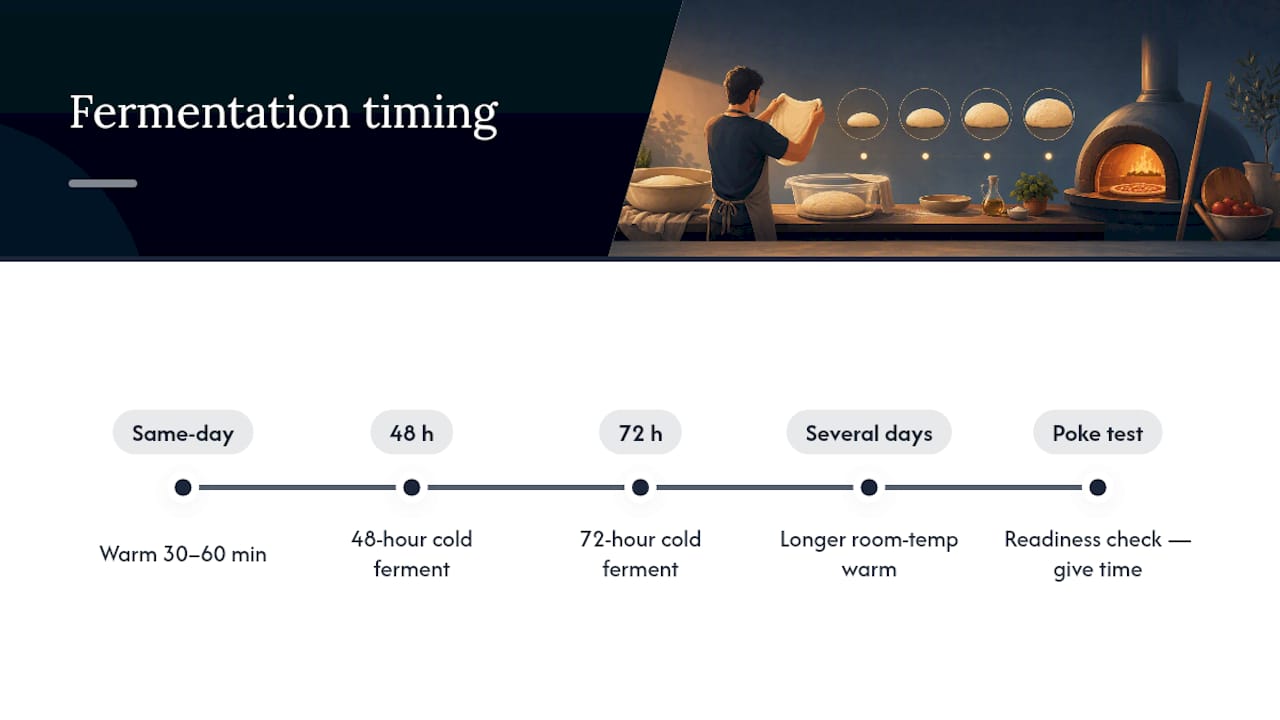
The poke test remains your best readiness check regardless of fermentation length. If the dough still fights back, give it more time rather than more force.
What 48-Hour Dough Taught Us About Shaping
Watching dough that’s been fermenting for 48 hours behave under your hands is different from working with same-day dough. It’s more relaxed, more extensible, and far less likely to snap back mid-stretch, because the gluten has had time to fully develop and soften. For home cooks juggling a lot of variables already, that extra fermentation time removes one of the biggest sources of frustration at the bench. If snapback keeps derailing your pizza nights, our guide on why dough keeps shrinking back walks through the fermentation side of the problem in more depth, and our proofing guide covers the timing questions this section only scratches the surface of.
— Michael
Skip the Guesswork With Ready-Made Dough
If fermentation timing and hydration levels feel like too many variables to manage on a Tuesday night, You can buy dough that’s already done the hard part. The 48-hour Neapolitan pizza dough by weight arrives already fermented, so the extensibility and gluten development this article talks about are baked in before it ever reaches your bench.

That’s useful whether you’re new to hand-stretching and want one less thing to get wrong, or you’re experienced but don’t have 48 hours to spare before dinner. Making your own dough gives you full control over hydration and flour choice, which is worth doing if you’re chasing a specific style. Reaching for ready-made dough gets you the same 48-hour fermentation and consistent behavior at the bench without a two-day head start. Browse the full range of dough ball options, pick a format, and practice the press, V-press, and knuckle-drape sequence on dough that’s already primed to cooperate.
Where to Learn More About Shaping and Proofing
For deeper technique breakdowns, The Kitchn’s five-step stretching guide and King Arthur Baking’s stretching walkthrough cover the fundamentals well. America’s Test Kitchen’s stretching tips dig into flour choice, and The Perfect Loaf’s shaping guide is worth reading if you want to understand hydration’s role in stretchability. For tear prevention specifically, see our own guide to stretching dough without tearing it.
Sources
- The Kitchn — The 5 key steps to stretching pizza dough
- King Arthur Baking — How to stretch pizza dough
- The Pizza Craft — How to stretch pizza dough
- America’s Test Kitchen — 6 tips for stretching pizza dough
Recommended
- How to Stretch Pizza Dough Without Tearing
- Why Does Pizza Dough Keep Shrinking Back?
- How to Par Bake Pizza Dough for a Crispier Crust
READY-MADE • FROZEN • UK DELIVERY
Skip the mixing. Keep proper dough in your freezer.
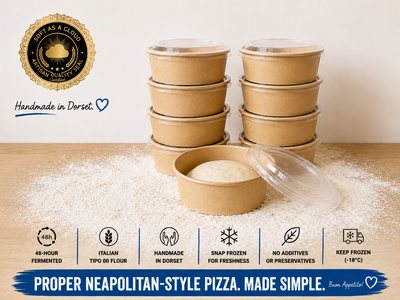
48-hour fermented, individually proofed in their own pot and delivered frozen across the UK. Defrost, stretch, top and bake.
-
 48-Hour Neapolitan-Style Pizza Dough Balls – Box of 12
£22.88
-
 48-Hour Neapolitan-Style Pizza Dough Balls – Box of 20
£32.30
-
 48-Hour Neapolitan-Style Pizza Dough Balls – Box of 8
£18
Handmade in Dorset • Free UK delivery over £50 • Free proofing pot with every dough ball