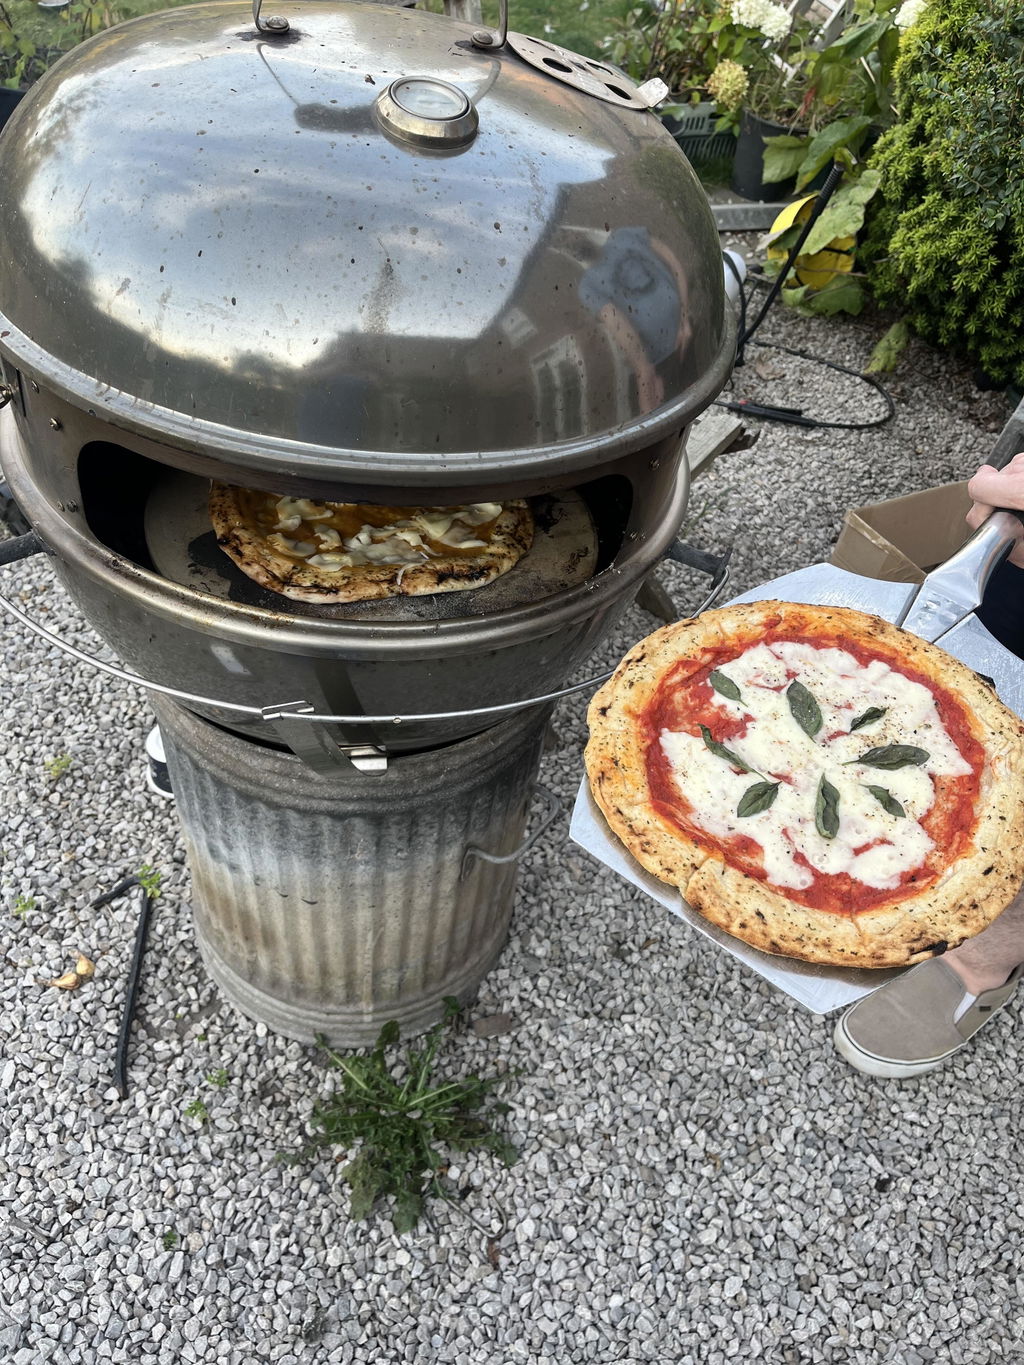
Beginner Shortcut: Roll Pizza Dough and Keep the Rim, Warm 30 to 60 Minutes
Use rolling as a shortcut for thin, crisp pizzas without flattening the rim. Warm dough 30 to 60 minutes, leave a 1-inch border, or choose ready dough or...
A rolling pin works fine for pan pizzas, cracker-thin crusts, and quick weeknight dinners, but it will flatten out gas pockets and leave you with a denser bite than hand-stretched dough. If you’re set on rolling, bring the dough to room temperature first, leave the outer inch untouched, and use short, even passes instead of one heavy push. If a puffy, airy cornicione is the whole point of your pizza night, hand-stretching gets you there and rolling won’t.
TL;DR:
- Rolling pizza dough compresses gas pockets, resulting in a thinner, denser crust that may lack the puff and airiness of hand-stretched dough.
- The degree of gas loss from rolling depends on dough hydration, fermentation time, and gluten strength, with wetter, longer-fermented doughs losing more air.
- Rolling works best for cracker-thin, sheet-pan, or grandma-style pizzas where a flat, crisp base is desired, while hand-stretching better suits Neapolitan and artisan styles.
- Using a tapered French-style unfinished hardwood rolling pin offers optimal control and minimizes sticking when rolling dough.
- Short, even passes from the center outward, combined with proper dough warming and gentle patching of tears, help preserve rim integrity and improve rolling results.
Table of Contents
- How Rolling Changes Pizza Dough Structure and Crust Texture
- Which Pizza Styles Actually Suit a Rolling Pin?
- How to Roll Pizza Dough Without Losing the Rim
- What to Look for in the Best Rolling Pin for Dough
- Fixing Tears, Snap-Back, and Dense Crust
- Hand-Stretching Resources and Time-Saving Alternatives
- When to Roll and When to Learn to Stretch
- A Shortcut Worth Knowing About
- Sources
- FAQ
How Rolling Changes Pizza Dough Structure and Crust Texture
Fermentation is what makes pizza dough worth waiting for. Yeast feeds on sugars in the flour and releases carbon dioxide, and that gas gets trapped inside a network of gluten strands built up during mixing and resting. Given time and moisture, those gas pockets multiply and grow, and that’s exactly what you want happening right up until the moment the dough hits a hot oven and puffs up around the edges, a reaction bakers call oven spring.
A rolling pin works against that process. Even, flattening pressure pushes the air out of those pockets instead of letting them survive into the bake. Rolling a pizza crust compresses the gas pockets built up during fermentation, which is why a rolled base almost always comes out thinner and denser than a hand-stretched one, with far less of that light, bubbly rim.
How much damage rolling does depend on a few dough variables:
- Hydration: wetter doughs (65% or higher) hold air more loosely, so rolling knocks more of it out than it would with a stiffer, lower-hydration dough.
- Fermentation time: a dough that’s fermented for 48 hours has built a more developed gluten structure and larger gas pockets, so it has more to lose under a pin than a same-day dough.
- Gluten strength: stronger 00 flour holds structure better under pressure, but even strong gluten can’t stop a rolling pin from squeezing air out mechanically.
Reviewers and home bakers who’ve compared both methods side by side consistently describe the same outcome: a rolled base bakes up thinner, denser, and closer to a cracker than a pillowy Neapolitan-style crust. None of that makes rolling wrong. It just means you’re choosing a different texture on purpose, not by accident.
Which Pizza Styles Actually Suit a Rolling Pin?
Rolling isn’t a mistake for every pizza. It’s a mismatch for some styles and a genuinely smart choice for others.
Rolling works well for:
- Cracker-thin pizzas, where a dense, crisp base is the goal, not a flaw
- Sheet-pan or grandma-style pizzas, which are meant to be uniformly flat corner to corner
- Some thin-crust styles where a consistent, even thickness matters more than a puffy edge
Hand-stretching is the better call for:
- Neapolitan pizza, where a tall, airy cornicione is the entire point of the style
- Any high-hydration, long-fermented dough you’ve put real time into
- Artisan-style pies where uneven thickness and char are part of the character, not a defect
If you’re short on time, working with a lower-hydration dough, or still building confidence with your hands, rolling is a reasonable shortcut. If you’ve got a 48-hour dough ball and you’re chasing that leopard-spotted, blistered crust from your favorite pizzeria, put the pin down and stretch it by hand instead. Hand-stretching techniques like the knuckle drape and V-press preserve those hard-won gas pockets in a way no rolling pin can.
How to Roll Pizza Dough Without Losing the Rim
Rolling out pizza crust doesn’t have to mean a flat, lifeless disc. A little sequencing saves the edge and keeps tearing to a minimum.
- Warm the dough first. Pull it from the fridge 30 to 60 minutes before shaping. Cold dough tightens up and snaps back the second you try to roll or stretch it, so this step alone prevents most of the fighting.
- Dust lightly. Use semolina or a light coating of flour on your board and peel. Too much flour toughens the surface, so keep it minimal.
- Flatten the center by hand first. Press outward from the middle with your palms and fingertips before the pin ever touches the dough. This starts spreading it without compressing everything at once.
- Roll from the center outward, stopping short of the edge. Leave a narrow border along the edge completely untouched to preserve the rim during rolling. That ring is your future rim.
- Rotate a quarter turn between passes. Use light, short strokes rather than one long, heavy push, and rotate the dough after each pass to keep the shape round and the thickness even.
- Check thickness by eye and touch. Hold it up to the light if you can. Thin spots translate to burnt patches; thick spots stay doughy. Press thick areas gently with fingertips rather than rolling over them again.
- Dock it if you’re going cracker-thin. Poke the surface all over with a fork before topping. This stops big bubbles from forming mid-bake, which matters more the thinner your base gets.
- Patch tears gently. Pinch a small torn edge back together with damp fingers rather than re-rolling the whole piece. Let it rest for a minute or two afterward so the patch relaxes back into the surrounding dough.
Pro Tip: If the dough shrinks back toward the center frequently, let it rest under a towel for an appropriate period until the gluten relaxes. That’s the gluten telling you it hasn’t relaxed enough yet, and fighting it just tears the dough.
What to Look for in the Best Rolling Pin for Dough
Not every rolling pin handles dough the same way, and the wrong one makes every problem above worse.
- French (tapered) pins: These narrow at both ends and concentrate pressure toward the center, giving you more control over how hard you press. Tapered French-style pins consistently perform best in rolling pin comparisons because that shape lets you feel exactly where the dough is thick or thin as you work.
- Dowel pins: Straight, cylindrical, and uniform in diameter, these apply even pressure across the whole length but offer less feedback on thickness variation.
- Handled pins with ball bearings: These roll with minimal effort, which sounds convenient but actually makes it easier to over-compress delicate dough since you’re not gauging resistance with your own arms.
- Unfinished hardwood: Bare wood grips a light dusting of flour or semolina better than a lacquered or silicone-coated pin, which cuts down on sticking without needing extra flour.
- Weight and length: A heavier or longer pin flattens dough faster, but that speed comes at a cost. Heavier pins are more likely to crush air out of a delicate, well-fermented dough, so a lighter tapered pin is usually the safer pick for pizza work specifically.
- Specialty thickness pins: Pins with removable rings that lock in an exact thickness are handy for consistent pastry work but limit how wide you can roll, which makes them a poor fit for anything bigger than a personal-size pizza.
For most home cooks, a mid-weight, unfinished French-style pin strikes the right balance between control and speed.
Fixing Tears, Snap-Back, and Dense Crust
Every home baker hits one of these problems eventually. None of them mean you need to start over.
- Snap-back: If the dough keeps pulling back toward the center, it’s too cold or too tight. Let it rest 10 to 15 minutes at room temperature and try shorter rolling sessions with pauses in between.
- Tears: Pinch the torn edges together with slightly damp fingers and press gently rather than re-rolling over the repair, which just stretches it thin again.
- Dense, flat crust: If you rolled a long-fermented dough and lost most of the puff, accept it as a thin-crust bake, or try gentle fingertip dimpling after rolling to reintroduce a little texture before it goes in the oven. A hotter oven and shorter bake time also help a rolled crust crisp up before it dries out.
- Sticking: Semolina resists moisture better than plain flour and adds a pleasant crunch. On the peel specifically, a light coating of olive oil works better than flour for release in some home-oven setups, especially if you’re sliding the pizza directly onto a stone.
If snap-back and tearing keep showing up no matter what you try, the fix usually isn’t technique. It’s timing. Give the dough more rest before you touch it.
Hand-Stretching Resources and Time-Saving Alternatives
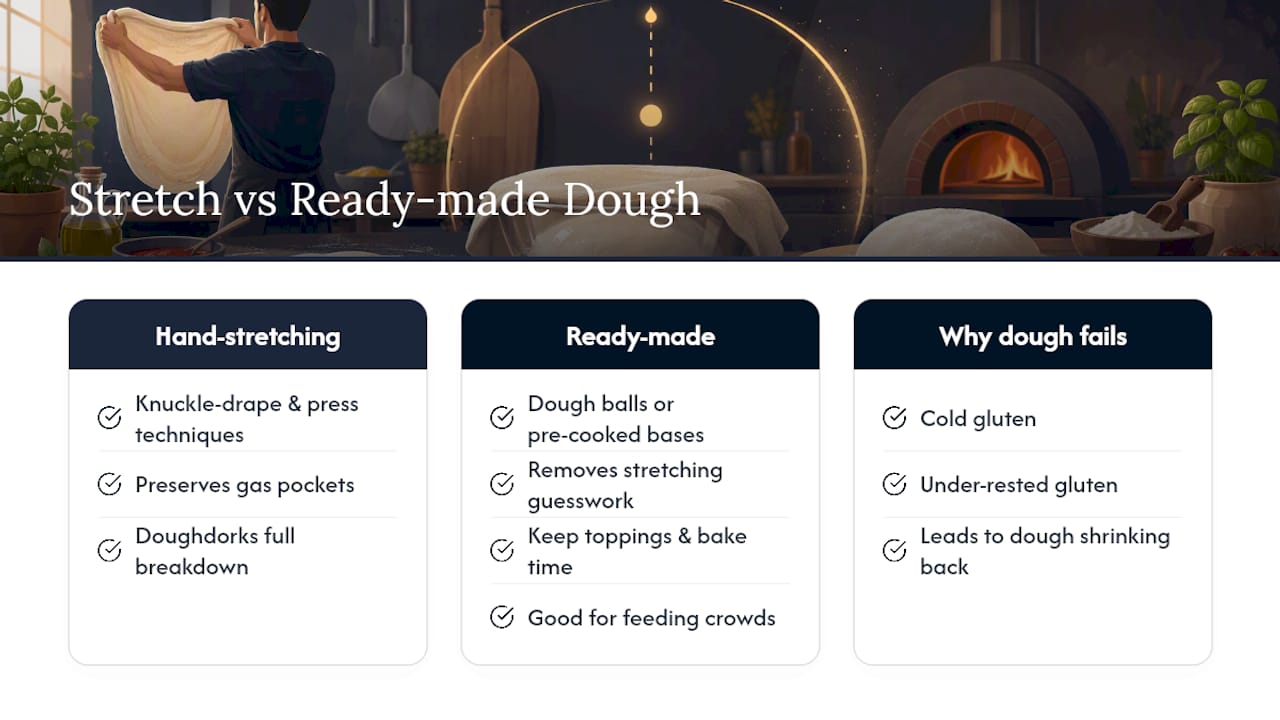
If you’d rather skip rolling altogether, Doughdorks has a full breakdown of how to stretch pizza dough without tearing, covering the same knuckle-drape and press techniques pizzaiolos rely on to keep gas pockets intact. Pair that with guidance on why dough keeps shrinking back and you’ll understand both problems from the same root cause: cold, underrested gluten.
For nights when shaping dough from scratch isn’t realistic, ready-made dough balls and pre-cooked bases remove the guesswork entirely. You still get to choose your toppings and bake time, but the stretching or rolling decision is already handled for you. It’s a practical middle ground between a from-scratch dough and a takeout pizza, especially useful if you’re feeding a crowd on a weeknight.
When to Roll and When to Learn to Stretch
Home cooks tend to treat this like a moral choice, and it isn’t one. If you want that tall, blistered Neapolitan rim, hand-stretching is worth learning properly, even if your first few attempts come out lopsided. If you want a consistent, thin base on a Tuesday night with minimal cleanup, a rolling pin gets the job done and there’s nothing wrong with that.
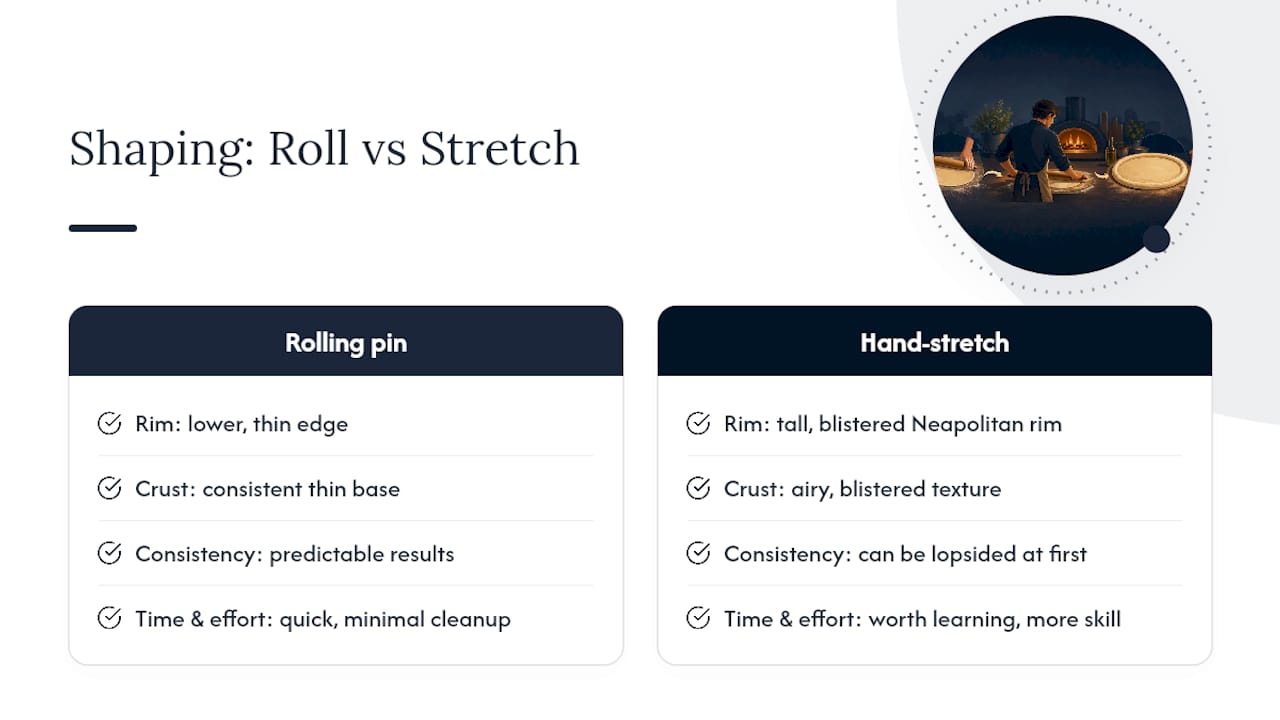
Ask yourself three questions before you decide: How much time do you actually have? What crust texture are you chasing? And how forgiving is the dough you’re working with? A stiff, same-day dough tolerates rolling far better than a 48-hour ferment that deserves better treatment.
My honest suggestion: keep both skills in your rotation. Roll one dough ball for a quick pan pizza, then stretch the next by hand and see the difference for yourself.
— Michael
A Shortcut Worth Knowing About
There are ready-made dough options for the moment described above, when you want real pizzeria texture but don’t want to spend a Saturday practicing your knuckle-drape. The Italian Herb Neapolitan Pizza Dough Balls arrive already fermented for 48 hours with Italian 00 flour, fresh yeast, and extra virgin olive oil, so all the structural work described earlier is already done before it reaches your kitchen.

Bring it to room temperature the same way you would any dough ball, then decide for yourself whether to stretch it by hand or roll it thin for a pan-style bake. If shaping dough at all still sounds like more effort than you want on a weeknight, the pre-cooked Neapolitan pizza bases skip that step completely. Add your toppings, bake, and you’ve got a wood-fired-style crust with zero rolling or stretching involved. Browse the dough ball collection and pick what fits your next pizza night.
Sources
- This Baking Tool Ruins Your Pizza Crust In An Instant — Food Republic
- How to Stretch Pizza Dough: 6 Steps, No Rolling Pin | The Pizza Craft
- How to choose the best rolling pin — Serious Eats
- The 5 key steps to stretching pizza dough — The Kitchn
FAQ
Is it okay to use a rolling pin for pizza dough?
Yes, it’s fine for pan pizzas, sheet-pan styles, and cracker-thin crusts, though it will compress gas pockets and produce a thinner, denser result than hand-stretching.
What is the best rolling pin for pizza dough?
A tapered French-style pin made from unfinished hardwood gives the most control, since it concentrates pressure at the center and holds a light dusting of flour without sticking.
How do you roll out pizza dough with a rolling pin?
Warm the dough for 30 to 60 minutes, flatten the center by hand first, then roll from the middle outward with short, even passes, stopping short of the edge to preserve the rim.
Is it better to roll or stretch pizza dough?
Stretching by hand preserves more of the gas pockets built during fermentation, giving you better oven spring and a puffier crust, while rolling produces a flatter, more uniform, and denser base.
Recommended
- How to Par Bake Pizza Dough for a Crispier Crust
- How to Proof Pizza Dough: Time, Temp & Signs It’s Ready
- make my pizza in 3 easy steps
- Buying and Baking Ready-Made Neapolitan Pizza Dough Balls
READY-MADE • FROZEN • UK DELIVERY
Skip the mixing. Keep proper dough in your freezer.
48-hour fermented, individually proofed in their own pot and delivered frozen across the UK. Defrost, stretch, top and bake.
-
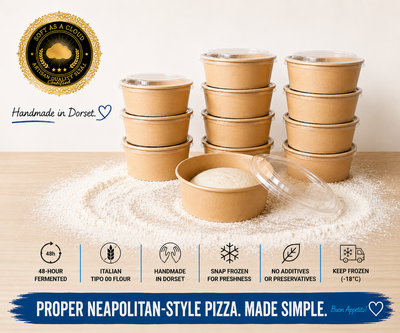 48-Hour Neapolitan-Style Pizza Dough Balls – Box of 12
£22.88
-
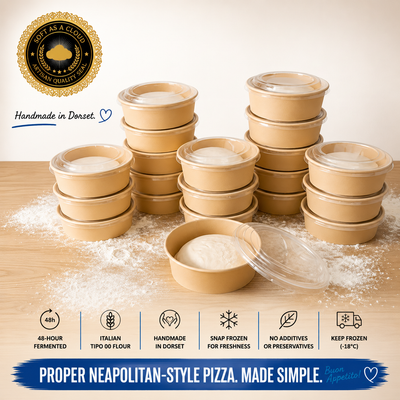 48-Hour Neapolitan-Style Pizza Dough Balls – Box of 20
£32.30
-
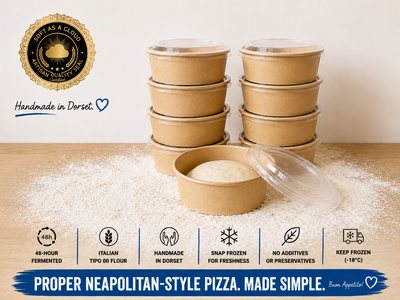 48-Hour Neapolitan-Style Pizza Dough Balls – Box of 8
£18
Handmade in Dorset • Free UK delivery over £50 • Free proofing pot with every dough ball