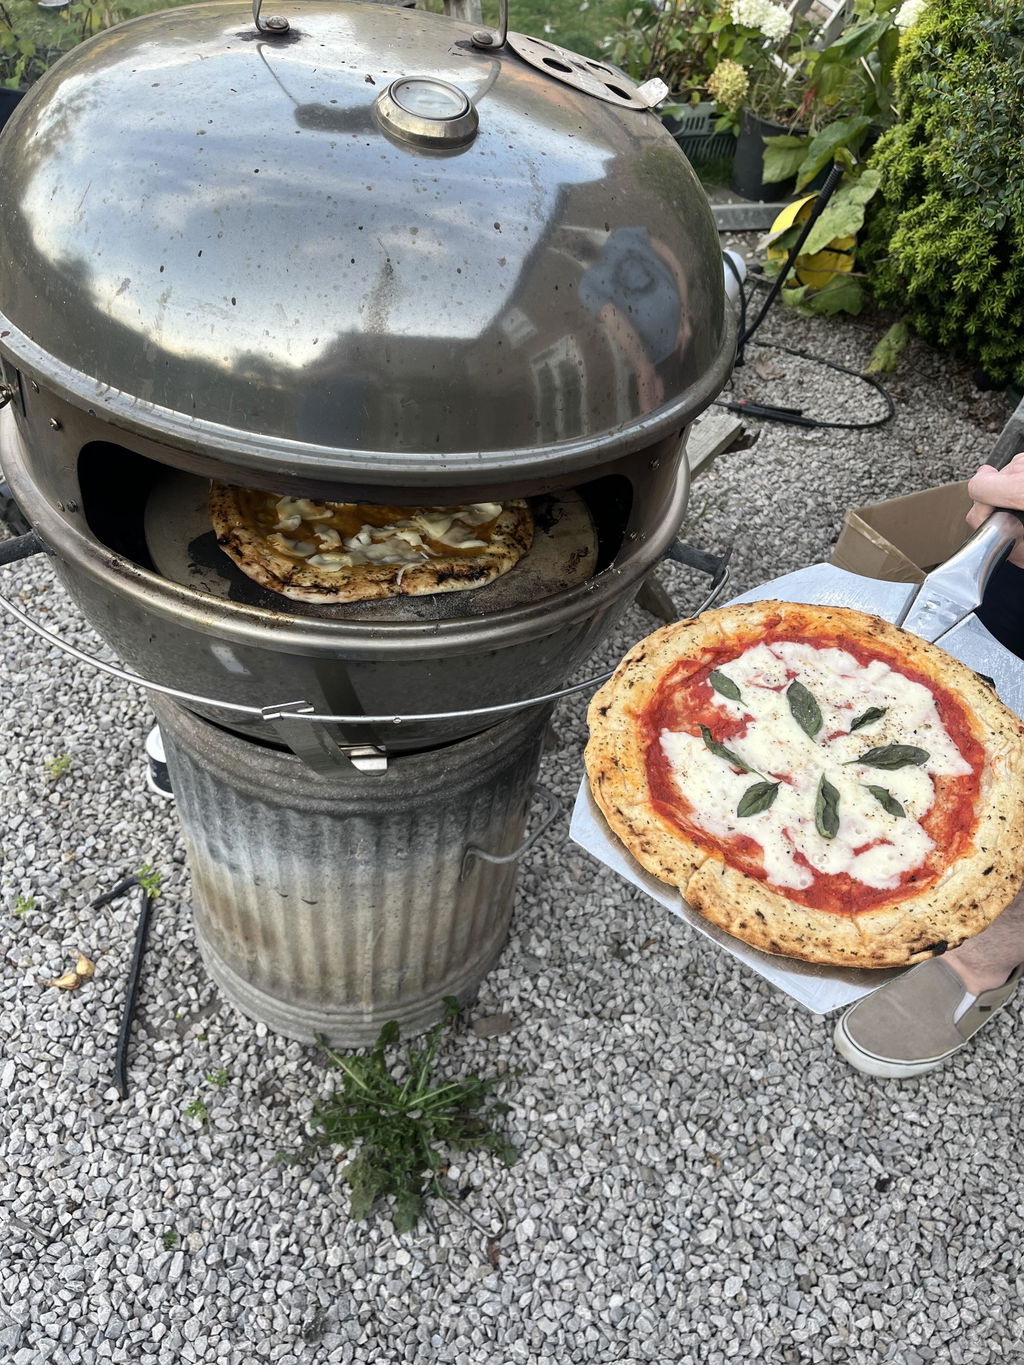
How to Reheat Wood Fired Pizza: Best Methods by Situation
Learn the best methods to reheat wood fired pizza perfectly. From single slices to a whole pie, discover tips for crispy crust and melty cheese.
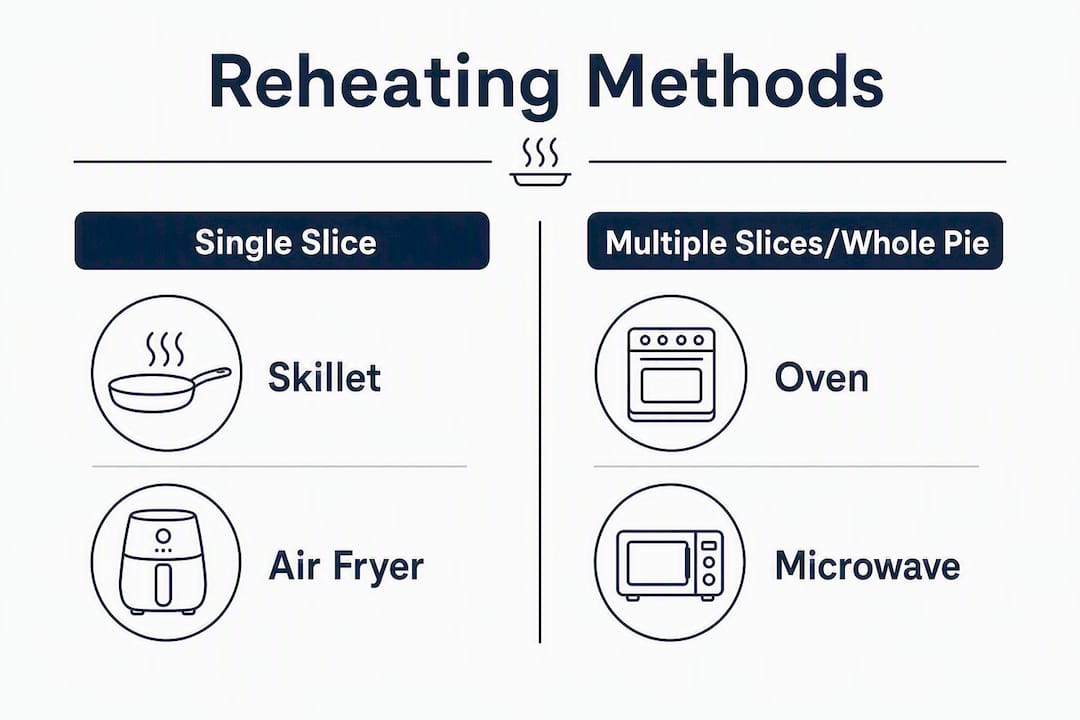
For a single slice of wood-fired pizza, a covered dry skillet on medium-low heat is the fastest way to restore a crisp bottom and melty cheese. For multiple slices or a whole pie, a preheated oven surface at 425°F wins every time. Here is the quick breakdown by situation:
- Single slice: Covered skillet, a few minutes. Crisp base, melted cheese, no sogginess.
- Several slices or whole pie: Oven on a preheated baking sheet, stone, or cast iron at 425°F for 5–7 minutes. Even heat, scales easily.
- 1–2 slices, fast: Air fryer at moderate temperature, for a few minutes. Quick crisping, minimal fuss.
- Frozen slice: Oven at 425°F, 10–14 minutes from frozen, or partial thaw then skillet.
- Emergency (no other option): Microwave at reduced power briefly, then finish in a hot skillet to re-crisp the base.
The skillet wins for single slices because direct contact heat recrisps the base immediately, while the lid traps just enough steam to melt the cheese without wetting the crust. The oven wins for volume because it heats evenly and handles a full pie without crowding.
Table of Contents
- How do the main reheating methods compare?
- How to reheat wood fired pizza in a skillet
- Oven method: reheating multiple slices or a whole pie
- Air fryer method: fast, crisp results for one or two slices
- Microwave: why it’s a last resort and how to rescue it
- How to reheat multiple slices, whole pies, and frozen pizza
- How long does leftover pizza last, and is it safe to reheat?
- Why do these methods actually work? The science behind it
- Quick fixes for common reheating problems
- Which method should you use? A quick scenario guide
- Key Takeaways
- Starting with better pizza makes reheating easier
How do the main reheating methods compare?
Every method has a real trade-off. Here is how they stack up on the dimensions that matter for wood-fired and restaurant-style pizza:
- Skillet: Best crispness for a single slice. Requires attention. Low sogginess risk when covered correctly.
- Oven: Best for batches and thick slices. Slower to set up (preheat time), but consistently delivers crispy undersides and melty cheese across multiple slices.
- Air fryer: Fast and effective for one or two slices. Edge-browning risk on thin Neapolitan crusts if you overshoot the time.
- Microwave: Fast but almost always produces a rubbery, steamed crust. Acceptable only as a first step before a pan finish.
- Grill: Works for outdoor situations; high direct heat can scorch toppings before the center warms.
| Dimension | Skillet | Oven | Air Fryer | Microwave |
|---|---|---|---|---|
| Best for | Single slice, crispy base | Multiple slices, whole pie | 1–2 slices, speed | Emergency only |
| Equipment needed | Skillet with lid | Oven + stone/sheet/cast iron | Air fryer basket | Microwave |
| Time per slice/batch is short, varying by method and thickness | ||||
| Results | Crispy bottom, melted cheese | Even heat, crispy base | Crispy base, fast melt | Soft/rubbery unless pan-finished |
| Capacity | 1–2 slices | Full pie or 4–6 slices | 1–2 slices | 1–2 slices |
Quick decision guide: Single wood-fired slice? Skillet. Several restaurant slices or a whole pie? Oven. In a rush with one or two slices? Air fryer. No other equipment? Microwave plus a pan finish.
How to reheat wood fired pizza in a skillet
The covered dry skillet method is the single best way to reheat a thin, wood-fired slice. Direct contact heat recrisps the open, airy crumb that a long fermentation and a 430–480°C wood-fired bake creates, while the lid traps steam that melts the cheese without soaking the base.
- Place a skillet (stainless, cast iron, or nonstick) over medium-low heat. Let it warm for 60–90 seconds before adding the slice.
- Set the pizza slice in the dry pan, no oil needed. The base should contact the pan directly.
- Add 3–4 drops of water to the pan away from the pizza, then immediately cover with a tight lid.
- Heat for 3–4 minutes for a thin Neapolitan slice, or 5–6 minutes for a thicker restaurant-style slice.
- Lift the lid and check: the underside should be golden and firm, and the cheese should be bubbling at the edges.
- Remove and rest for 30 seconds before eating.
Pro Tip: Adding water off to the side of the pizza, not on top of it, creates a small steam pocket under the lid. That steam heats the cheese from above while the hot pan crisps the base from below — two heat sources working at once, which is exactly what a pizza oven does.
| Slice style | Heat level | Time | Done when |
|---|---|---|---|
| Thin Neapolitan | Medium-low | 3–4 min | Base golden, cheese bubbling |
| Medium restaurant-style | Medium-low | 4–5 min | Base firm, toppings hot through |
| Thick/deep-dish | Low | 5–6 min | Center warm, base crisp |
The covered skillet with a steam burst consistently outperforms uncovered pan approaches in melting toppings faster without creating a soggy underside. If the cheese is not fully melted at the 4-minute mark, add another 2–3 drops of water, re-cover, and give it another 60 seconds.
Oven method: reheating multiple slices or a whole pie
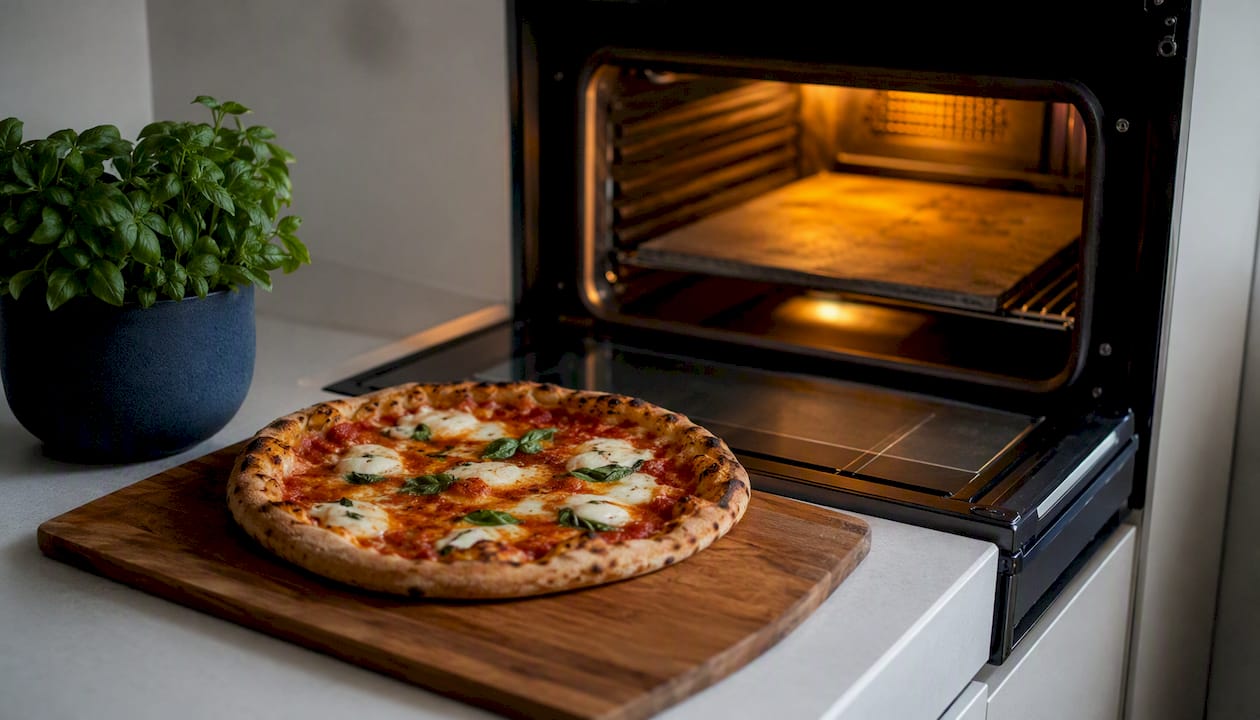
The oven is the right call when you have more than two slices or a whole pie to reheat. It heats evenly, scales to any quantity, and handles thicker styles that a skillet cannot manage without burning the base.
- Place your baking sheet, pizza stone, or cast iron skillet in the oven and preheat to 425°F (218°C). Let the surface heat for 10–12 minutes after the oven reaches temperature.
- Carefully slide or place slices directly onto the hot surface. For a whole pie, slide it onto the stone or sheet as you would a fresh pizza.
- For very thick slices or a stuffed pie, tent loosely with foil for the first half of the cook time to prevent the toppings from drying before the center warms.
- Reheat for several minutes, longer for thicker slices.
- Check the underside with a spatula: it should be firm and lightly browned. Pull when the cheese is fully melted and the crust sounds hollow when tapped.
| Slice thickness | Oven temp | Surface preheat | Reheat time |
|---|---|---|---|
| Thin (Neapolitan) | 425°F | 10–12 min | 5–7 min |
| Medium (standard delivery) | 425°F | 10–12 min | 7–8 min |
| Thick (deep-dish, stuffed) | 425°F | 10–12 min | 8–9 min (foil tent first half) |
- A standard half-sheet pan fits 4–6 slices comfortably. Leave at least an inch between slices so hot air circulates.
- A 12-inch pizza stone fits a whole pie or 3–4 slices.
- Avoid stacking slices or crowding the pan — overlapping edges trap steam and produce a soft, chewy base instead of a crisp one.
- A wire rack set over a rimmed baking sheet is a solid alternative: it lets heat hit the base from below while air circulates above.
Pro Tip: Skip the cold sheet pan. Placing pizza on a room-temperature surface and then heating it means the base warms slowly and often dries out before the center reaches temperature. The preheated surface is the whole point.
Air fryer method: fast, crisp results for one or two slices
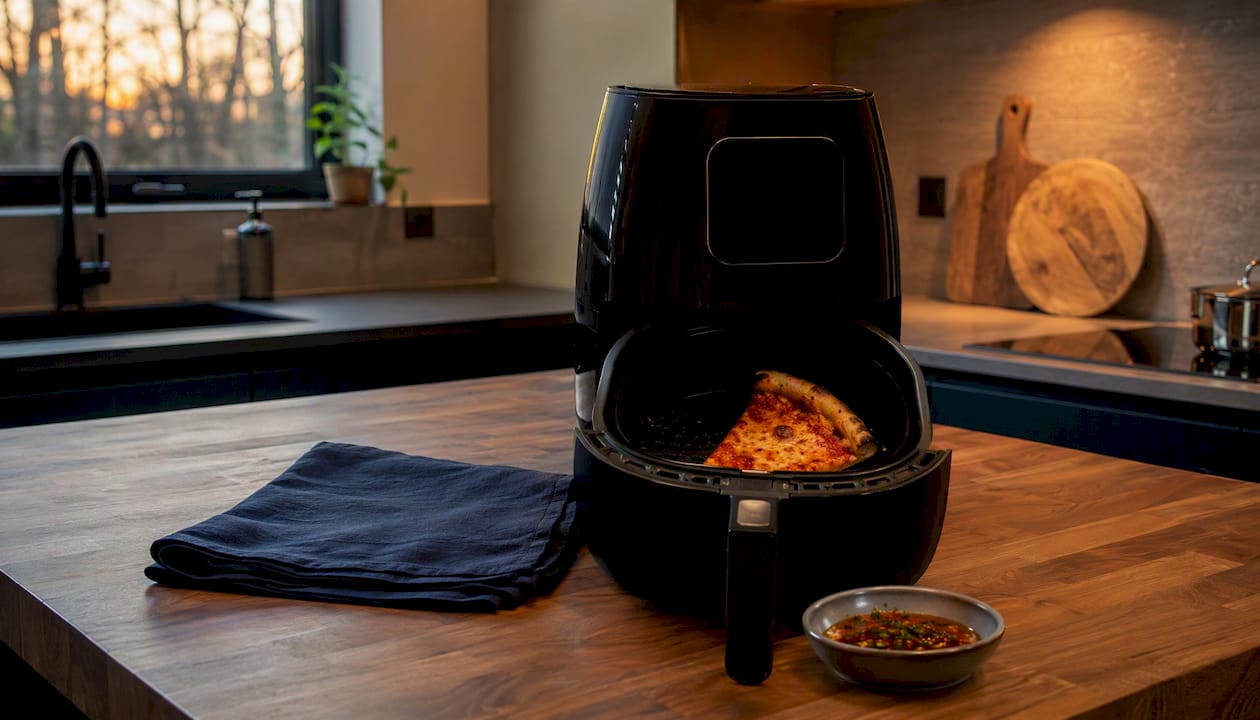
The air fryer is a reliable fast option when you have one or two slices and want a crisp base without waiting for an oven to preheat. Rapid circulating hot air mimics the convection effect of a deck oven, which suits thin wood-fired crusts particularly well.
- Preheat the air fryer to a moderate temperature for a short time.
- Place slices in the basket in a single layer, base down. Do not overlap.
- Cook for a few minutes, then check. Thin Neapolitan slices are often done at the 2-minute mark.
- If the cheese needs more time but the edges are already coloring, drop the temperature to 325°F and add 1–2 minutes.
- Remove and rest briefly before eating.
| Slice style | Temp | Time | Watch for |
|---|---|---|---|
| Thin Neapolitan | — | 2–3 min | Edge browning after 2 min |
| Standard slice | — | 3–4 min | Cheese fully melted |
| Thick slice | — | 4–5 min | Center warmth, not scorched edges |
Thin wood-fired slices heat faster than standard delivery pizza because the crumb is more open and less dense. Check at 2 minutes every time. If the edges start to brown before the cheese melts, that is the signal to lower the heat rather than cut the time.
Microwave: why it’s a last resort and how to rescue it
Microwaves excite water molecules throughout the crust, generating steam from the inside out. That steam has nowhere to go, so it softens the starch structure and leaves you with a rubbery, chewy base. For wood-fired pizza with its open, airy crumb, the effect is especially pronounced.
Use the microwave only when no other equipment is available:
- Step 1: Set the microwave to 50% power. Heat one slice for 45–60 seconds. This warms the toppings and center without fully overcooking the base.
- Step 2: Immediately transfer the slice to a hot dry skillet over medium heat. Press gently with a spatula and heat for 60–90 seconds until the base firms up.
The realistic result is a slice that is warm throughout with a partially recrisped base. It will not match a skillet-only or oven method, but it is significantly better than a full-power microwave alone.
When microwaving might be acceptable: you are in a hotel room, a break room with no skillet, or you genuinely do not care about texture and just want it warm. No judgment. But if you have a pan, use it.
How to reheat multiple slices, whole pies, and frozen pizza
Batching multiple slices: The oven on a preheated surface is the only method that handles volume without compromising texture. Arrange slices in a single layer with space between them. Reheat in one batch rather than two if possible — opening the oven repeatedly drops the temperature and extends the time unevenly.
Whole pie: Slide the whole pizza onto a preheated stone or sheet at 425°F. Reheat for 8–10 minutes for a thin pie, or 10–12 minutes for a thicker one. Slicing first is optional, but it speeds up heating and makes it easier to check individual sections for doneness.
Frozen pizza tips:
- Partial thaw method: Move the frozen pizza or slices to the fridge the night before. Reheat from cold (not room temperature) using the oven method at 425°F, adding 3–5 minutes to the standard time.
- Straight from frozen: Place directly on a preheated surface at 425°F. Thin slices take 10–12 minutes; a whole frozen pie takes 12–15 minutes. Check the base at the 10-minute mark.
- If you made the pizza yourself using frozen dough, thaw the dough fully before baking rather than freezing a finished pizza — the texture after reheating will be noticeably better.
- Avoid refreezing a pizza that has already been thawed and reheated.
How long does leftover pizza last, and is it safe to reheat?
Cooked pizza keeps safely in the refrigerator for 3–4 days. Store slices in an airtight container or wrap tightly in foil — loose storage in an open box dries the crust and allows moisture from the fridge to soften the base unevenly.
Before reheating, check:
- No off smell (sour, fermented beyond normal, or ammonia-like)
- No visible mold on the crust, sauce, or cheese
- Cheese has not separated into an oily puddle with a gray tinge
For food safety, reheated pizza should reach an internal temperature above 165°F. For texture purposes, heating above 140°F (60°C) is the threshold where starch retrogradation reverses and the crumb regains pliability. In practice, if the cheese is fully melted and the base is hot to the touch, the slice has almost certainly cleared both thresholds.
Rest before reheating: Pull slices from the fridge 10–15 minutes before you reheat them. A cold slice placed on a hot surface heats unevenly — the base can scorch before the center and toppings reach temperature. This is especially true for thick slices and whole pies.
Note: This is general food-safety guidance. When in doubt, consult the USDA FoodKeeper app or your local food safety authority for current recommendations.
Why do these methods actually work? The science behind it
Pizza is a layered food, and each layer responds to heat differently. The crust, sauce, and cheese all have different moisture contents and heat tolerances, which is why a single uniform heat source (like a microwave) struggles.
Starch retrogradation is the main reason leftover crust goes stiff. When pizza cools, the starch molecules in the dough recrystallize into a rigid structure. Heating the crust above roughly 140°F (60°C) breaks those crystalline bonds and allows the crumb to reabsorb moisture and become pliable again. This is why a cold slice feels cardboard-stiff but a properly reheated one feels almost fresh.
Why a hot contact surface works: When a slice hits a preheated pan or stone, the base temperature jumps immediately. That rapid heat drives moisture out of the bottom crust before it can soak in, which is what creates the crisp. A cold surface heats the base slowly, and during that slow warm-up, moisture migrates downward and softens the crust before it ever gets hot enough to crisp. Commercial wood-fired ovens reach temperatures that make this process nearly instantaneous — home reheating is slower, but preheating the surface closes that gap significantly.
The lid/steam trick: Cheese melts at a lower temperature than the crust crisps, but it needs moist heat to melt evenly without browning. The small steam pocket created by a few drops of water under a lid provides that moist heat above the pizza while the dry pan provides dry heat below. Two distinct heat environments in one pan.
- Higher temp, shorter time: Best for thin Neapolitan slices. Recrisps fast, minimal drying risk.
- Moderate temp, longer time: Better for thick slices. Allows the center to warm through before the base scorches.
Quick fixes for common reheating problems
Soggy bottom: Transfer the slice immediately to a hot dry skillet over medium heat, no lid. Press gently with a spatula for 60–90 seconds. The direct contact heat will drive out the moisture that caused the sogginess. If you are using the oven, move the slice from a baking sheet to a wire rack for the last 2 minutes.
Cheese not melting: Add 3–4 drops of water to the pan away from the pizza and cover immediately. The steam will melt the cheese within 60–90 seconds. In the oven, tent loosely with foil for 2 minutes, then remove the foil for the final 2 minutes to re-crisp the top.
Scorched bottom: Lower the heat immediately and transfer the slice to the oven at 325°F to finish. The gentler ambient heat will warm the center and toppings without adding more color to the base.
Pro Tip: The single most effective way to prevent sogginess is to preheat whatever surface you are using before the pizza touches it. A cold pan or sheet is the most common cause of a soft, steamed base.
When to accept a diminished result: if a slice has been in the fridge for 3–4 days and the crust was already dry before reheating, no method will fully restore it. Room temperature may actually be the better call — a cold, slightly stiff slice eaten at room temperature often beats a dried-out reheated one.
Which method should you use? A quick scenario guide
- Single wood-fired or Neapolitan slice: Covered skillet, medium-low heat, 3–4 minutes for thin slices, 5–6 minutes for thicker slices. Best crispness, fastest setup.
- Several restaurant-style slices or a whole pie: Oven at 425°F on a preheated stone or sheet, 5–7 minutes for thin slices, 7–8 minutes for standard, 8–9 minutes for thick or stuffed. Handles volume, even heat.
- 1–2 slices, you need it fast: Air fryer at moderate temperature, for a few minutes. Nearly as good as the skillet with less attention required.
- Emergency, no skillet or oven: Microwave briefly at reduced power, then finish in any hot pan for 60–90 seconds. Acceptable, not great.
Key Takeaways
The covered skillet at medium-low heat is the most effective single-slice method for reheating wood-fired pizza, while a preheated 425°F oven surface handles batches and whole pies with the most consistent results.
| Point | Details |
|---|---|
| Skillet wins for single slices | Covered dry skillet on medium-low heat, 3–4 minutes for thin slices, 5–6 minutes for thicker slices, restores crisp base and melted cheese. |
| Preheat surfaces for oven batches | Preheat your stone, sheet, or cast iron thoroughly before adding slices. |
| Air fryer is the fast alternative | 350°F for 3–4 minutes works well for 1–2 slices with minimal setup. |
| Avoid microwave alone | Microwaves create steam that ruins crust texture; always finish in a hot pan if you use one. |
| Doughdorks dough reheats better | Long-fermented dough with an open crumb structure recrisps faster and more evenly than dense commercial dough. |
The honest truth about reheated pizza
Reheated pizza is not fresh pizza, and pretending otherwise sets you up for disappointment. The goal is texture restoration, not resurrection. A well-executed skillet reheat gets you 85–90% of the way back to fresh, and for a weeknight lunch, that is genuinely satisfying.
What most guides miss: the quality of the original pizza matters enormously for how well it reheats. A pizza made with properly proofed, long-fermented dough has an open crumb structure that responds quickly to dry contact heat. A dense, under-fermented crust reheats into something closer to a cracker. The method matters, but so does what you started with.
Sometimes, room temperature pizza is the right answer. A slice that has been out for an hour at a summer cookout, with the cheese just barely set and the crust still slightly pliable, can be better than a rushed reheat. Know when to use the pan and when to just eat the slice.
Starting with better pizza makes reheating easier

The biggest variable in reheating leftover pizza is the pizza itself. A slice made with high-quality, properly fermented dough holds its structure through refrigeration and responds cleanly to dry heat. A dense or under-fermented base does not.
Doughdorks 48-hour fermented Neapolitan dough balls are made with Italian 00 flour, fresh yeast, and extra virgin olive oil, and the long cold fermentation produces exactly the open crumb structure that recrisps so well in a skillet or on a hot stone. If you want even less to think about, the pre-cooked Neapolitan pizza bases are already baked and ready to top and reheat, which cuts the reheating guesswork almost entirely. Browse the full range at Doughdorks and start with ingredients that make the whole process easier.
Sources and further reading
- The Kitchn — The Best Way to Reheat Pizza: We Tested 5 Methods
- Serious Eats — The Best Way to Reheat Pizza
- King Arthur Baking — How to Reheat Pizza
- The Pizza Craft — How to Reheat Pizza in the Oven
- Food & Wine — The Best Way to Reheat Pizza, According to Our Tests
- Tasting Table — How to Reheat Pizza So the Crust Stays Crispy
- Vesuviano — Commercial Pizza Oven Temperatures
- Doughdorks — How to Proof Pizza Dough Properly
Recommended
- How to Proof Pizza Dough Properly - Dough Dorks
- Authentic Neapolitan Pizza Dough Balls - Ready Made Box of 8
- Neapolitan Pizza Dough: Authentic Recipe for Home Ovens
- Ready Made Pizza Bases Guide for Better Pizza - Dough Dorks
READY-MADE • FROZEN • UK DELIVERY
Skip the mixing. Keep proper dough in your freezer.
48-hour fermented, individually proofed in their own pot and delivered frozen across the UK. Defrost, stretch, top and bake.
-
 48-Hour Neapolitan-Style Pizza Dough Balls – Box of 12
£22.88
48-Hour Neapolitan-Style Pizza Dough Balls – Box of 12
£22.88
-
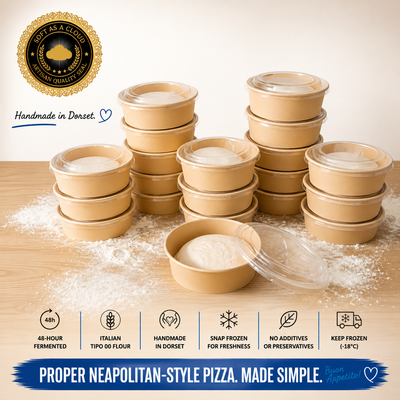 48-Hour Neapolitan-Style Pizza Dough Balls – Box of 20
£32.30
48-Hour Neapolitan-Style Pizza Dough Balls – Box of 20
£32.30
-
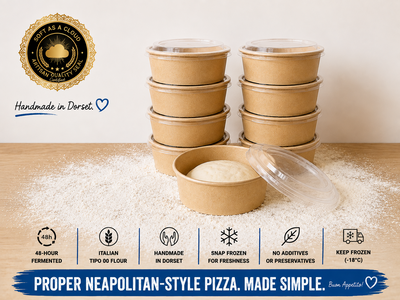 48-Hour Neapolitan-Style Pizza Dough Balls – Box of 8
£18
48-Hour Neapolitan-Style Pizza Dough Balls – Box of 8
£18
Handmade in Dorset • Free UK delivery over £50 • Free proofing pot with every dough ball