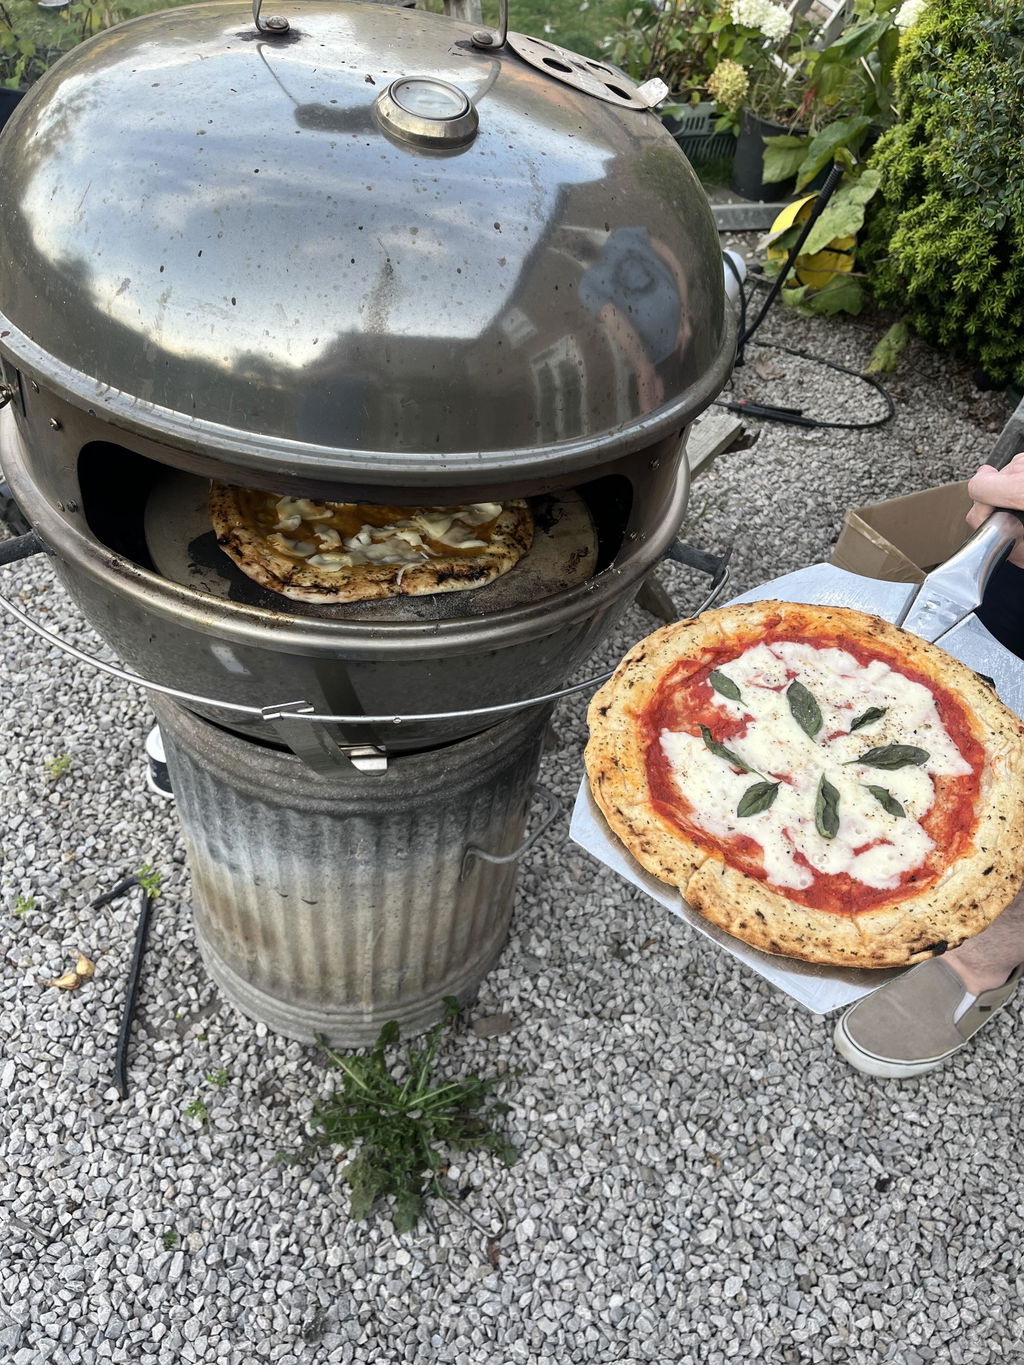
How to Par Bake Pizza Dough for a Crispier Crust
Learn how to par bake pizza dough for a crispy crust. This method prevents sogginess and enhances flavor for your perfect pizza.
Par-baking pizza dough means giving a naked crust a short, partial bake before you add any toppings. The goal is a dry, set surface that holds sauce without going soggy. As a quick rule: bake on a stone or steel at 450–500°F for 3–5 minutes, on a sheet pan at 450°F for 6–8 minutes, or in a thick pan at 425–450°F for 8–12 minutes. Air fryers move fast — 1–3 minutes at 375–400°F is usually enough.
Pull the crust when it passes this three-point check:
- The surface feels dry to the touch with no wet or tacky spots
- It is firm enough to hold its shape when you pick it up
- It has a pale blond color, not browned, indicating it is set but not fully baked
Key Takeaways
Par-baking pizza dough is the most reliable way to get a crisp, set crust from a home oven — especially for thick pan styles, wet toppings, and make-ahead freezer prep.
| Point | Details |
|---|---|
| Go-to temps and times | Stone/steel: 3–5 min at 450–500°F; sheet pan: 6–8 min at 450°F; thick pan: 8–12 min at 425–450°F. |
| The “done” test | Surface is dry, firm to the touch, and pale blond — no browning before toppings go on. |
| Freezer workflow | Cool completely, double-wrap, freeze up to 2–3 months; add 4–8 min to finish bake from frozen. |
| Main trade-off | Two bakes dry out lean doughs — increase hydration by 2–3% to protect crumb texture. |
| Doughdorks option | Pre-cooked Neapolitan bases and 48-hour frozen pizza dough balls give home cooks two convenient starting points, depending on whether you want to stretch raw dough or start from a pre-cooked base. |
Table of Contents
- Why par bake pizza dough: benefits and trade-offs
- Which dough styles benefit from par-baking (and which you should skip)
- How to par bake pizza dough step by step
- How to freeze and store par-baked crusts
- How to finish-bake par-baked crusts
- Troubleshooting common par-bake problems
- Tools and oven setups that improve par-baking results
- What pizza pros say about hydration and par-baking trade-offs
- When I par-bake and when I don’t
- Ready-to-use dough and pre-cooked bases from Doughdorks
- Sources
Why par bake pizza dough: benefits and trade-offs
The biggest payoff is moisture control. When you load raw dough with tomato sauce and fresh mozzarella, the water in those toppings steams into the crust during baking. That produces the dreaded gum line — a dense, undercooked layer just beneath the surface. Par-baking creates a moisture barrier that stops sauce from soaking in, giving you a crisper base even in a home oven that tops out at 500°F.
There are real trade-offs, though. Two bakes pull more moisture from the dough than one, so a crust that was already lean can turn cracker-dry by the time it finishes. Higher-hydration doughs resist this better; low-hydration doughs are the ones that end up brittle. Proofing matters too — an under-proofed dough par-bakes dense and tight, while a well-proofed one stays open and light through both bakes.
Par-baking also makes batch prep practical. You can par-bake six crusts on a Sunday, freeze them, and pull one out on a Wednesday night without touching raw dough. For home cooks who can’t hit wood-fired temperatures, it’s one of the most reliable ways to close the gap between a home oven and a pizzeria result.
That small addition compensates for the extra moisture lost over two bakes and keeps the crumb tender.*
Which dough styles benefit from par-baking (and which you should skip)
Thick pan styles — Sicilian, Detroit, grandma-style — are where par-baking is closest to mandatory. Those doughs are dense enough that a single bake with toppings on top rarely cooks the bottom through before the cheese burns. Par-baking is effectively required for thick pan styles because home ovens simply can’t deliver the sustained bottom heat those crusts need in one pass.
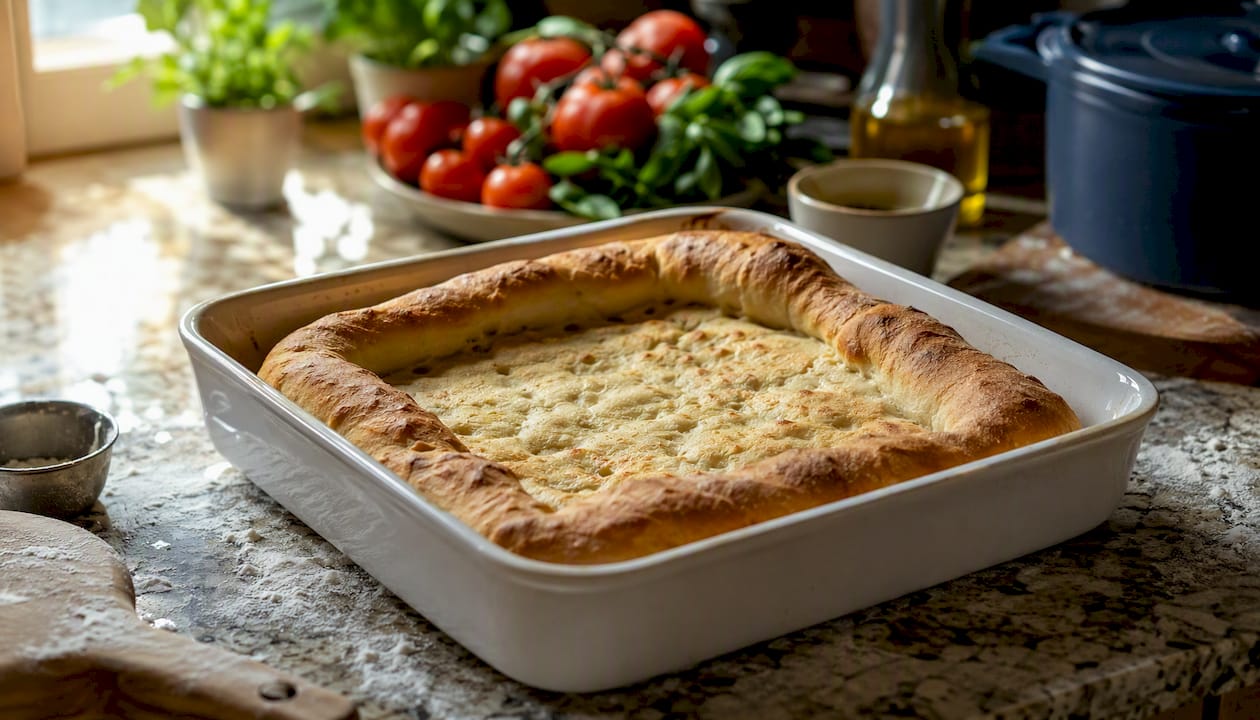
Conventional thin crusts benefit when you’re loading them with wet toppings (fresh tomatoes, high-moisture mozzarella, mushrooms) or when you’re prepping ahead for the freezer. Gluten-free crusts almost always need a par-bake because they lack the gluten structure to hold up under wet toppings without going mushy.
True Neapolitan is the exception. A Neapolitan dough made with Italian 00 flour and high hydration is designed for a single, very fast bake at extreme heat — 850–900°F in a wood-fired oven, done in 60–90 seconds. Par-baking a Neapolitan crust in a home oven at 475°F just dries it out without giving you the leopard char and airy cornicione that make it worth the effort.
Quick decision checklist — par-bake when:
- Crust is thicker than ¾ inch
- Toppings include fresh tomatoes, high-moisture cheese, or vegetables
- You’re freezing crusts for later
- You’re using a gluten-free dough
Pro Tip: A well-proofed dough par-bakes more evenly than a tight, under-proofed one. If your dough hasn’t doubled and feels dense, give it another 30 minutes before loading it into the oven.
How to par bake pizza dough step by step
Preheat first — it matters more than most people realize
A cold stone or steel is the single most common reason par-baked crusts come out pale and soft on the bottom. Preheat your stone or steel for at least 30–45 minutes at your target temperature. A sheet pan needs only 10–15 minutes. An oven thermometer is worth using here — most home ovens run 25–50°F below their dial setting.
Step-by-step method
- Shape the dough to your target size and thickness on a lightly floured surface or parchment.
- Dock thin crusts with a fork or dough docker — poke holes every inch or so across the surface. This vents steam and prevents big bubbles. Skip docking for thick pan crusts; you want them to puff.
- Brush the top lightly with olive oil. This helps the surface set without drying out and adds a little flavor protection.
- Transfer to your preheated surface. Use a peel for stone/steel, or set a sheet pan directly on the oven rack.
- Bake until set — check at the low end of the time range. The crust should be firm, dry on top, and pale blond. No browning.
- Remove immediately from the pan if you’re using a pan-style setup. Leaving a par-baked crust in the pan traps steam underneath and softens the bottom — the opposite of what you want.
- Cool on a wire rack before topping or wrapping for storage.
If large bubbles form during baking, pierce them immediately with a fork. Don’t wait for the crust to cool.
Par-bake timing by equipment
| Equipment | Temperature | Par-Bake Time | Notes |
|---|---|---|---|
| Baking steel or stone | 450–500°F | 3–5 min | Preheat 30–45 min; use a peel |
| Rimmed sheet pan | 450°F | 6–8 min | Remove from pan right after |
| Convection oven | 425–450°F | 5–7 min | Runs hotter; check early |
| Air fryer | 375–400°F | 1–3 min | Watch closely; color comes fast |
| Thick pan (Detroit/Sicilian) | 425–450°F | 8–12 min | Crust type drives timing |
| High-heat outdoor oven | 850–900°F | 60–90 sec | Check every 30 seconds |
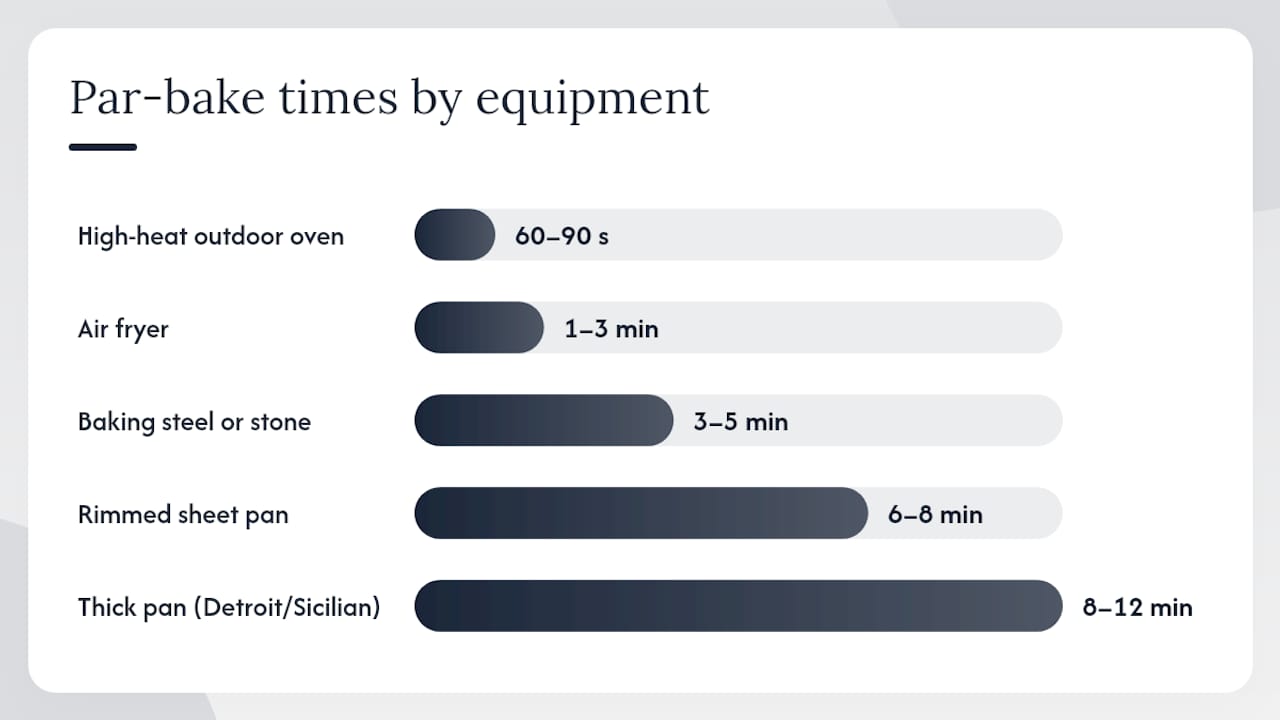
For outdoor ovens, the difference in heat output versus a home oven is dramatic — what takes 6 minutes on a sheet pan takes under 2 minutes at those temperatures.
How to freeze and store par-baked crusts
Par-baking for the freezer is where this technique really earns its place. The workflow is simple, but the details matter.
Storage workflow:
- Par-bake to set — pale, firm, no color
- Cool completely on a wire rack (at least 30 minutes at room temperature)
- Double-wrap: plastic wrap first, then aluminum foil, or use a vacuum sealer
- Label with the date and crust thickness
- Freeze flat; stack only after fully frozen
Wrapping a warm crust causes condensation inside the wrap, which turns to ice crystals and makes the bottom soggy when you reheat. Cool it all the way down first.
| Storage Method | Duration | Finish-Bake Adjustment |
|---|---|---|
| Room temperature | Up to 2 hours | None needed |
| Refrigerator | Up to 3 days | Add 1–2 min to finish bake |
| Freezer (double-wrapped) | Up to 2–3 months | Add 4–8 min; no thaw needed |
Baking from frozen works well — just add toppings straight to the frozen crust and add a few extra minutes to your finish bake. Thawing first is fine too; let the crust sit at room temperature for 20–30 minutes, then top and bake as normal.
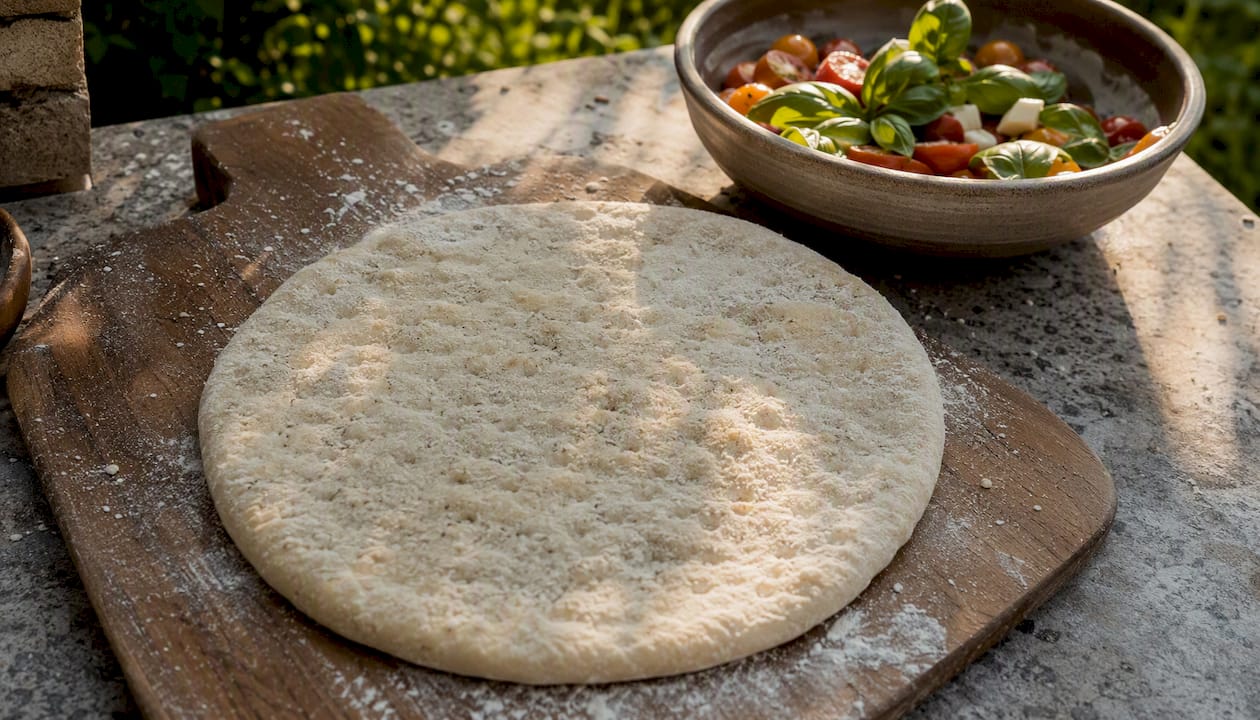
How to finish-bake par-baked crusts
The finish bake is where you add toppings and bring the pizza to completion. Temperature and time depend on crust thickness and whether you’re starting from chilled or frozen.
Finish-bake setup checklist:
- Preheat stone or steel for 30 minutes at 475–550°F for thin/medium crusts
- Use a sheet pan at 450°F for thick crusts
- Pat wet toppings dry before adding them — mushrooms, fresh tomatoes, and drained mozzarella all release water
- Keep sauce thin; a heavy layer re-introduces the moisture problem you par-baked to prevent
- For frozen crusts, add 4–8 minutes to the times below
Thin crusts finish in about 5–8 minutes at 500°F. Medium crusts take 8–12 minutes at 475°F. Thick pan crusts need 12–18 minutes at 450°F. The cheese should be bubbling and starting to spot brown before you pull it.
Pro Tip: In the last 90 seconds, switch to the broiler for a quick blast. It caramelizes the cheese without drying out the crust underneath — much closer to the finish you’d get from a high-heat pizza oven.
Troubleshooting common par-bake problems
Soggy center: The crust didn’t par-bake long enough, or the stone wasn’t fully preheated. Next time, add 2 minutes to the par-bake and confirm your oven temperature with a thermometer.
Gum line (dense, doughy layer under the sauce): Classic sign of under-par-baking or too much sauce. Par-bake until the surface is completely dry, and thin out the sauce layer.
Dry, cracker-like crust: Two bakes pulled too much moisture.
Burned bottom: Oven temperature too high for the surface you’re using, or the crust sat too long. Drop the temperature by 25°F or switch to a sheet pan, which transfers heat more gently than steel.
Big air bubbles: Dough wasn’t docked before par-baking. Pierce bubbles immediately with a fork while the crust is still hot. For next time, dock more aggressively before loading.
Quick in-the-moment fixes:
- Flip the pan upside down and rest the crust on the bottom for 2–3 minutes to crisp the underside
- Rest a soft crust on a wire rack for 5 minutes before topping — it firms up as it cools
- Tent with foil during the finish bake if the rim is browning too fast
Re-par-baking a crust that came out too soft is possible — 2 minutes at 450°F usually does it. If a crust came out dry, accept the texture and compensate with a slightly wetter topping layer.
Tools and oven setups that improve par-baking results
The surface you bake on has the biggest impact on par-bake quality.
Baking steel vs. stone vs. sheet pan:
- Baking steel conducts heat faster than stone, giving you a crisper bottom in less time. Best for thin crusts. Preheat for 45 minutes.
- Baking stone heats more evenly and is more forgiving for medium-thickness crusts. Preheat for 30–45 minutes. More fragile than steel.
- Rimmed sheet pan is the most accessible option and works well for thick pan styles. Slower heat transfer means longer par-bake times, but it’s easier to control.
Small accessories that change outcomes:
- Oven thermometer: Most home ovens run off-temperature. A $10–15 thermometer tells you what’s actually happening inside.
- Pizza peel: Lets you load and retrieve crusts from a hot stone or steel without burning yourself or deflating the dough.
- Dough docker: A roller with spikes that docks the entire surface in one pass — faster and more consistent than a fork.
- Wire cooling rack: Non-negotiable for the post-par-bake rest. A flat surface traps steam; a rack lets it escape.
- Parchment paper: Useful for loading onto a stone without a peel. Pull it out after the first 2 minutes once the crust has set.
What pizza pros say about hydration and par-baking trade-offs
The core trade-off is straightforward: par-baking sets a moisture barrier that protects the crust from wet toppings, but it also drives off some of the dough’s own moisture.
Warm crusts wrapped too soon trap steam, which creates ice crystals in the freezer and sogginess on reheating.
Par-bake both, freeze for 24 hours, then finish-bake side by side. The difference in crumb texture after the second bake is usually obvious. The Doughdorks dough calculator can help you work out adjusted weights when you’re scaling a recipe.
Pro Tip: When par-baking for the freezer, pull the crust 30 seconds earlier than you normally would. It finishes setting as it cools on the rack, and that small buffer protects against over-drying during the finish bake.
When I par-bake and when I don’t
Par-baking fits naturally into a batch-cook workflow. A Friday evening par-bake of four or five crusts means weekend pizzas take about 15 minutes from freezer to table. I par-bake thick pan crusts every time — there’s no reliable way around it in a home oven. For thin crusts with dry toppings and a properly preheated steel, I often skip it and go straight to a single high-heat bake.
True Neapolitan nights are the exception. A 48-hour fermented dough ball deserves a single fast bake at the highest temperature your oven can reach. Par-baking it would waste everything the long ferment built. For that style, the three-step finishing method on the Doughdorks site is worth following closely.
For freezer stock, I keep four to six par-baked crusts labeled by date and thickness. Rotate oldest to the front, use within two months, and always cool completely before wrapping. Flavor holds well if the crust is wrapped airtight — the main enemy is freezer burn from loose wrapping, not time.
Ready-to-use dough and pre-cooked bases from Doughdorks
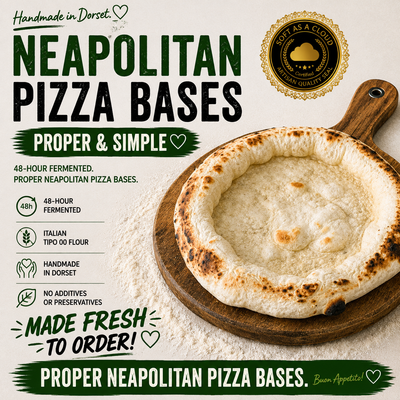
If you want to skip the par-bake entirely on busy nights, Doughdorks’s pre-cooked Neapolitan pizza bases are already par-baked and ready to finish at home. Load them with toppings and bake at 475–500°F for 8–10 minutes on a hot stone or steel — no raw dough handling, no timing guesswork.

For nights when you want to par-bake your own, Doughdorks’s 48-hour fermented dough balls are made with Italian 00 flour and fresh yeast, already proofed and ready to shape. They par-bake cleanly at 450–475°F and hold up well through the freeze-and-finish workflow described above. Order online for delivery and have your par-bake batch ready by the weekend.
Sources
- Pizza Crust: To Par Bake or Not to Par Bake?
- How to Par Bake Pizza Crust for a Crispier Bottom
- How Long to Prebake Pizza Crust? The Definitive Guide
- How To Par-Bake Pizza – The Ultimate Guide
Recommended
- How to Proof Pizza Dough Properly - Dough Dorks
- Neapolitan Pizza Dough: Authentic Recipe for Home Ovens
- make my pizza in 3 easy steps | Dough Dorks
- Secrets to Perfect, Chewy Pizza Dough: Tips for Delicious Crust
READY-MADE • PART-BAKED • UK DELIVERY
Skip the stretching. Buy pizza bases ready to top.
Pre-made Neapolitan pizza bases, made fresh to order from 48-hour fermented dough and part-baked. Top, bake and eat.
-
 Ready-Made Neapolitan Pizza Bases – Pack of 4
From £14.40
Ready-Made Neapolitan Pizza Bases – Pack of 4
From £14.40
-
Ready-Made Neapolitan Pizza Bases – Pack of 8
From £27
Handmade in Dorset • Free UK delivery on £50+ • Free proofing pot with every dough ball