UK Bakers: Keep Fresh Yeast Active. Fridge 0–4°C, Freeze 3–6 Months
A practical UK workflow: fridge 0–4°C for 1–2 weeks, freeze portions 3–6 months, thaw and proof in 5–10min, or use 48 hour ready dough.
Fresh yeast storage comes down to two options. For short-term use, keep it in the fridge at 0°C to 4°C, where it stays active for about 1 to 2 weeks. For anything longer, cut it into recipe-sized portions, wrap tightly, and freeze for 3 to 6 months. Thaw frozen yeast slowly in the fridge, never at room temperature, and always run a quick proof test before you commit it to dough.
TL;DR:
- Keep fresh yeast in the fridge at 0°C to 4°C for up to two weeks, ensuring it is tightly wrapped and stored on a stable shelf.
- Freeze portions of yeast in airtight, double-wrapped packages, and thaw slowly in the fridge, ideally 12 to 24 hours before use.
- Portion yeast into recipe-specific amounts before freezing to avoid waste and ease handling during baking.
- Always run a proof test after thawing frozen yeast; if it fails to foam within 10 minutes, discard and replace it.
- Use 2.5 to 3 times more fresh yeast than dry yeast for equivalent potency in recipes, adjusting fermentation time for previously frozen yeast.
Table of Contents
- Short-Term Fresh Yeast Storage: Fridge Temperature and Placement
- Freezing Fresh Yeast for Long-Term Storage
- Portioning and Wrapping: A Workflow That Prevents Waste
- Thawing Frozen Yeast and Running a Quick Proof Test
- Signs Your Fresh Yeast Has Gone Bad
- Swapping Fresh Yeast for Dry Yeast in Any Recipe
- Why Careful Yeast Handling Shapes Better Pizza Dough
- An Easier Route: Skip Yeast Storage Entirely With Ready-Made Dough
- Sources
Short-Term Fresh Yeast Storage: Fridge Temperature and Placement
Fresh yeast is a living organism, and it behaves like one. Kept at 0°C to 4°C (32°F to 40°F), it stays dormant enough to hold its rising power for roughly 1 to 2 weeks. Warmer than that and it starts fermenting on its own, burning through the sugars it needs later. Colder, and you risk ice crystals forming inside the cells before you’ve even decided to freeze it on purpose.
Wrapping matters as much as temperature, so choosing the best packaging for baked goods is essential to keep fresh yeast airtight and protected. Heat, air exposure, and moisture loss are the three things that break down fresh yeast fastest, so an airtight seal is non-negotiable. Wrap the block in its original paper or foil, then slide it into a sealed container or a zip-top bag with the air pressed out.
Where you put it inside the fridge matters too. The door swings open dozens of times a day and never holds a steady temperature, so push your yeast to the back of the main compartment instead.
A simple routine keeps this foolproof:
- Wrap yeast tightly in foil or plastic, then place it in an airtight container.
- Store it on a middle or back shelf, away from the door.
- Label the package with the purchase or opening date.
- Check for firmness and a clean smell before each use.
Pro Tip: Keep your yeast on the same shelf every time. Fridge temperatures vary shelf to shelf, and consistency matters more than which shelf you pick.
Freezing Fresh Yeast for Long-Term Storage
Freezing is where fresh yeast preservation really pays off, extending a 2-week fridge life into a 3 to 6 month freezer life according to BBC Good Food’s storage guidance. The tradeoff is potency. Ice crystals form inside yeast cells during freezing, and that mechanical stress kills off a portion of the population every time. The yeast that survives still works, but it may need a little help.
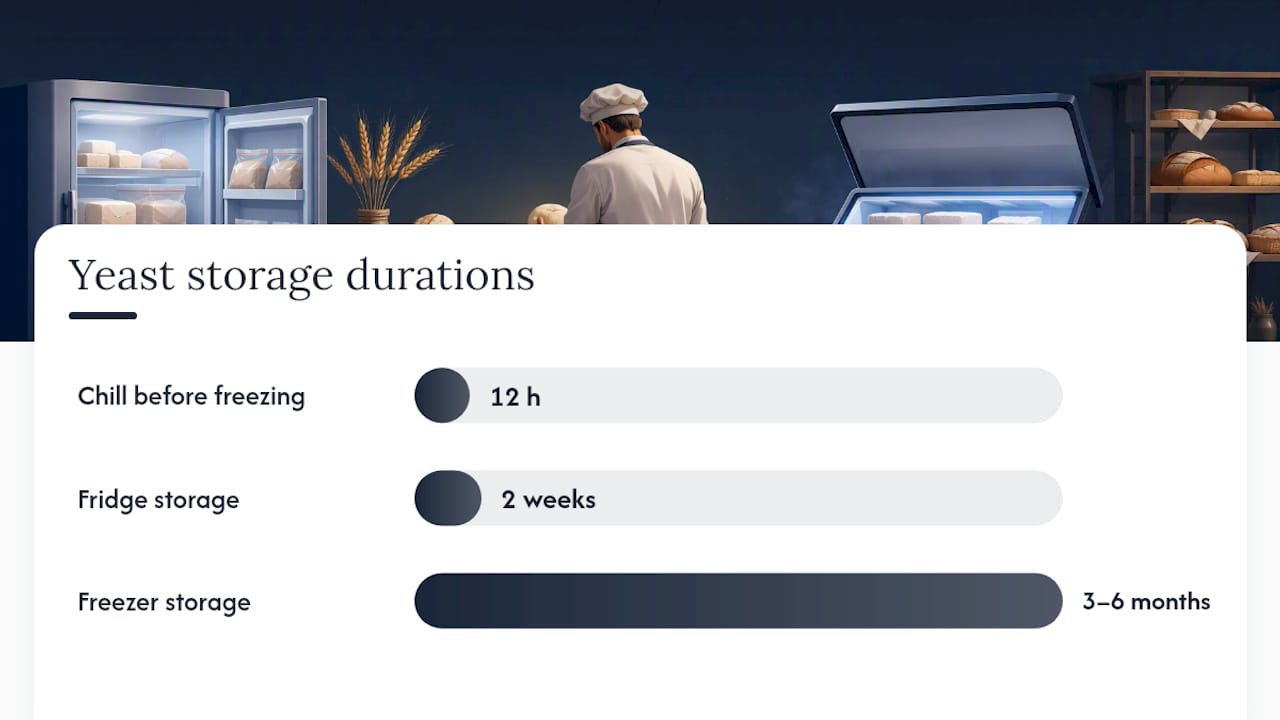
Statistic Callout: Frozen fresh yeast that has been properly wrapped and stored at a stable freezer temperature typically holds usable activity for a few months, per BBC Good Food’s baking storage research. Beyond that window, expect noticeably weaker performance even if the yeast looks fine.
The process itself is straightforward:
- Chill the yeast in the fridge for at least 12 hours before freezing to soften the shock of the temperature drop.
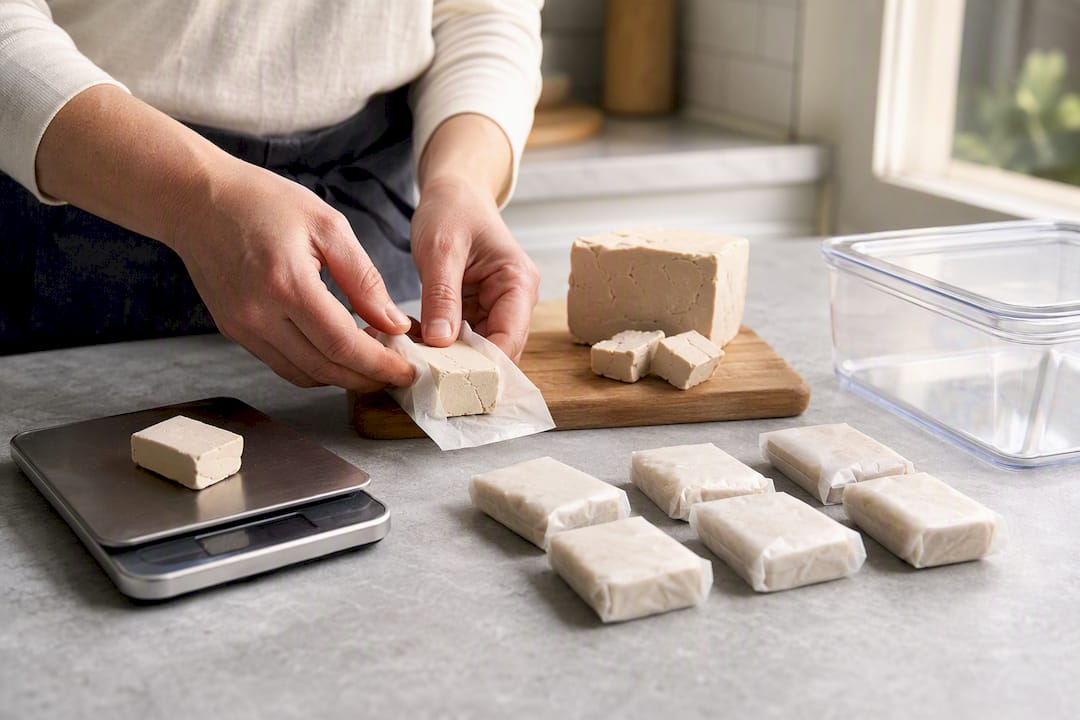
- Cut or portion it into amounts you’ll actually use in one recipe.
- Wrap each portion in plastic wrap first, then a layer of foil.
- Place wrapped portions into a labeled freezer bag or airtight container, pressing out excess air.
- Store toward the back of the freezer, where temperature swings are smallest, and rotate older portions to the front so nothing gets forgotten.
Portioning and Wrapping: A Workflow That Prevents Waste
Freezing a whole block of yeast at once creates a problem later: you either thaw the entire thing or hack away at a rock-hard brick with a knife. Neither works well. Portioning before freezing avoids the mess entirely and speeds up prep on real baking days.
Weigh out portions that match how you actually cook. A common breakdown:
- 7 grams, roughly enough for one standard pizza dough ball.
- 15 grams, suited to a single loaf of sandwich bread.
- 20 grams, useful for enriched doughs like brioche that need more lift.
Cut the yeast while it’s still cold and firm, since it turns sticky and hard to handle at room temperature. If it’s crumbling instead of slicing cleanly, that’s normal. Just weigh the pieces after cutting rather than trying to cut exact grams.
Double-wrap every portion separately, label each with the weight and date, and lay them flat in the freezer so they stack easily. Never refreeze a portion once it’s thawed. Pull only what a recipe calls for and leave the rest untouched.
Thawing Frozen Yeast and Running a Quick Proof Test
Once thawed, don’t just trust your eyes. Run a proofing test:
- Dissolve a small piece of yeast in ¼ cup of lukewarm water at 38°C to 43°C.
- Stir in a pinch of sugar to feed it.
- Wait 5 to 10 minutes and watch for foam or bubbling on the surface.
- If it foams actively, it’s ready to use as normal.
- If the reaction is weak, add 10 to 15% more yeast than the recipe calls for, or let the dough bulk ferment longer to compensate.
- If nothing happens after 10 minutes, discard it and start with fresh yeast.
Pro Tip: Always proof after freezing. Fridge-stored yeast rarely needs the test unless it’s pushing past a week old, but frozen yeast has been through enough cold stress that skipping the check is a gamble. If your first proof runs weak, our guide to proofing pizza dough properly walks through extending fermentation time to compensate.
Signs Your Fresh Yeast Has Gone Bad
Trust your senses before you trust the calendar. Fresh yeast that’s turned should show at least one of these warning signs:
- Discoloration, dark spots, or a dry, crumbly crust on the surface.
- A slimy or overly wet texture instead of firm and crumbly.
- A sour, sharp, or otherwise off smell rather than the mild, slightly beery scent of good yeast.
- Any visible mold, which means immediate disposal, no exceptions.
- A failed proof test with zero foam after 10 minutes.
If it’s outright dead or moldy, throw it out. There’s no salvaging that batch, and using it risks a flat loaf at best and food safety issues at worst.
Swapping Fresh Yeast for Dry Yeast in Any Recipe
Recipes rarely specify which yeast they were written for, so conversions come up constantly. The standard ratio: fresh yeast weighs about 2.5 to 3 times what active dry yeast would call for in the same recipe.
- 7 grams of active dry yeast converts to roughly 18 to 21 grams of fresh yeast.
- Fresh yeast goes straight into flour or liquid, no proofing required, while dry yeast typically needs hydrating first.
- For a standard 500-gram flour loaf calling for 7g dry yeast, use about 20g fresh yeast, crumbled directly into the dry ingredients.
- If your fresh yeast was previously frozen, budget slightly longer fermentation time to account for reduced cell activity.
Why Careful Yeast Handling Shapes Better Pizza Dough
Some dough balls are built around a 48-hour fermentation, and that timeline only works because the yeast behaves predictably from the start. Inconsistent yeast, whether it’s been mishandled in a fridge door or thawed too fast, throws off the whole fermentation curve and shows up later as uneven texture or a dull, flat flavor in the crust.
If you bake pizza once or twice a month, storing fresh yeast at home is entirely manageable with the steps above. If you’re baking more often, or you want the kind of open, airy crumb that takes years to dial in by feel, that’s usually where confidence in your own yeast starts to matter more than convenience.
An Easier Route: Skip Yeast Storage Entirely With Ready-Made Dough
Not every baker wants to manage fridge temperatures and freezer portions on top of everything else in a home kitchen. There is an option to get restaurant-quality results without touching a block of yeast at all.

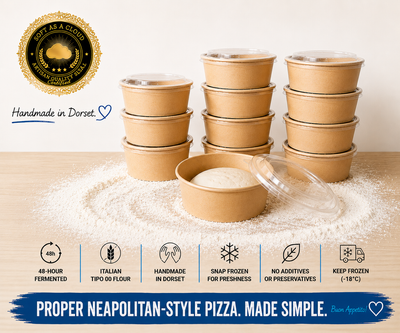
The 48hr Neapolitan Pizza Dough By Weight goes through its full fermentation before it ever reaches your kitchen, so there’s no proofing test, no thawing schedule, and no guessing whether your yeast survived the freezer. It arrives ready to stretch and bake. If you want more variety without extra prep, the Mixed Neapolitan Pizza Dough Balls Triple Flavour Box covers three styles in one order.
This isn’t a replacement for home fermentation if that’s part of what you enjoy about baking. It’s simply the option for the nights you want pizzeria-quality crust without opening the freezer first. Order a batch and see what a properly fermented dough ball feels like in your hands before you even turn on the oven.
Sources
- Red Star® Fresh Cake Yeast — storage and handling guidance
- How To Properly Store Fresh Yeast — Chowhound
Recommended
- The Best Fridge Time for Pizza Dough: 48 to 72 Hours
- How to Freeze Mozzarella Cheese for Pizza and More
- Best Pizza Dough Balls for Home Cooks (2026 Guide)
- Can Pizza Dough Be Frozen? Yes - Here’s How
READY-MADE • FROZEN • UK DELIVERY
Skip the mixing. Keep proper dough in your freezer.
48-hour fermented, individually proofed in their own pot and delivered frozen across the UK. Defrost, stretch, top and bake.
-
 48-Hour Neapolitan-Style Pizza Dough Balls – Box of 12
£22.88
48-Hour Neapolitan-Style Pizza Dough Balls – Box of 12
£22.88
-
 48-Hour Neapolitan-Style Pizza Dough Balls – Box of 20
£32.30
48-Hour Neapolitan-Style Pizza Dough Balls – Box of 20
£32.30
-
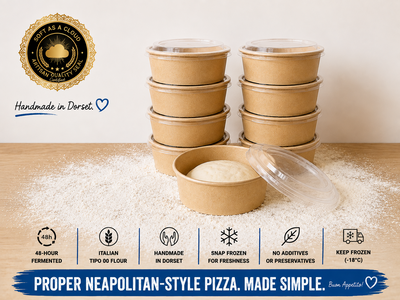 48-Hour Neapolitan-Style Pizza Dough Balls – Box of 8
£18
48-Hour Neapolitan-Style Pizza Dough Balls – Box of 8
£18
Handmade in Dorset • Free UK delivery over £50 • Free proofing pot with every dough ball