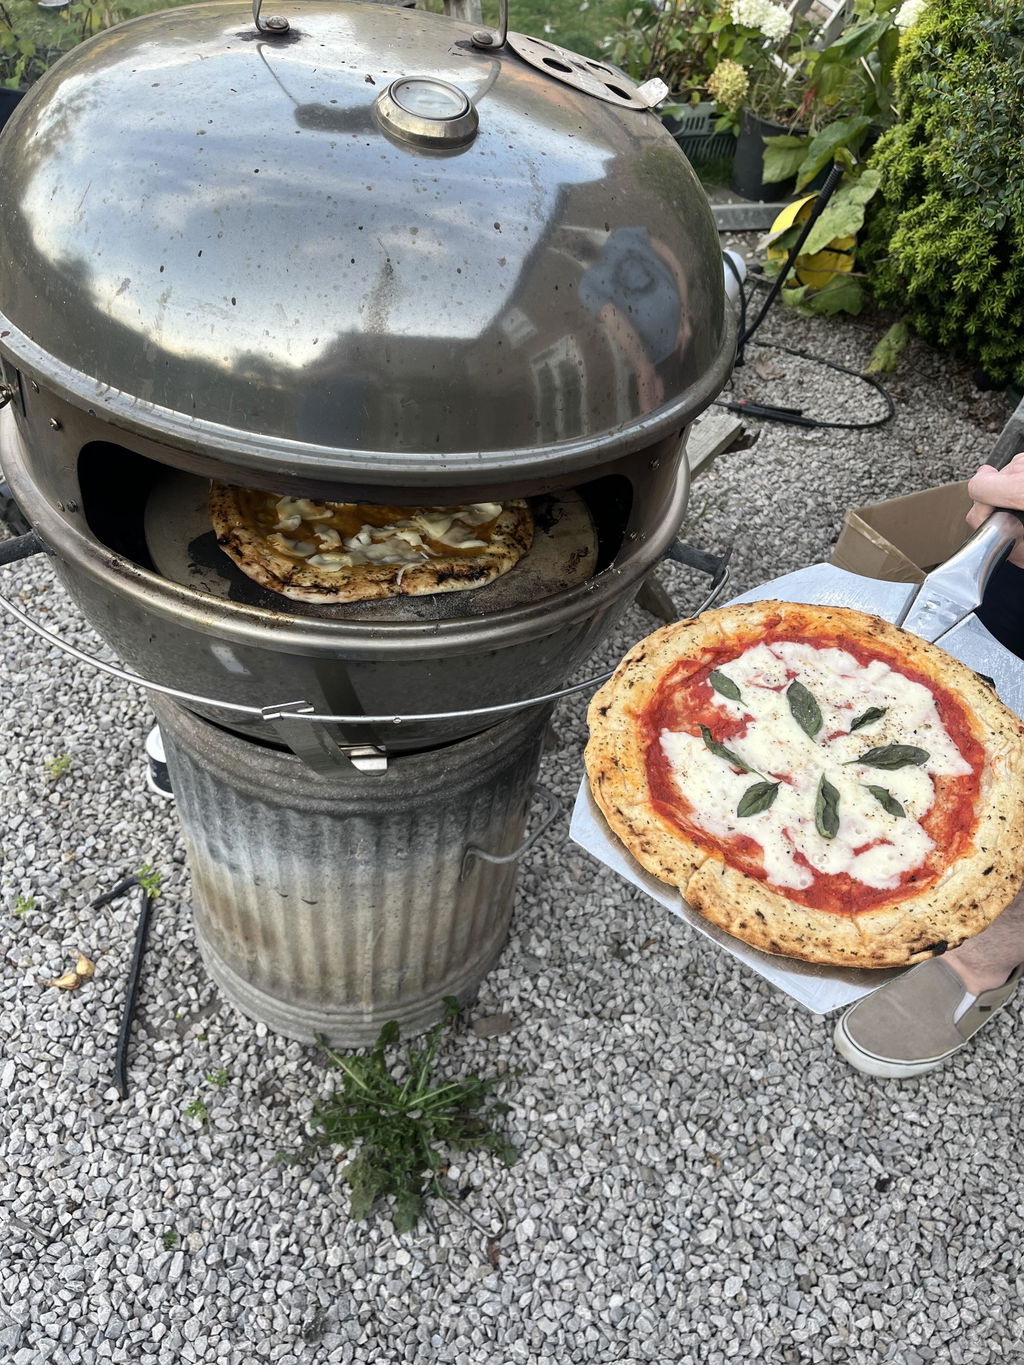
Get a 1–2 cm Neapolitan Pizza Cornicione in UK Ovens
Make a puffy, leopard spotted Neapolitan cornicione at home using AVPN size, 48 hour fermentation, and practical UK oven techniques.
Cornicione (kor-nee-CHO-neh) is the raised, puffy outer rim of a Neapolitan pizza, and getting it right comes down to three things: a well-hydrated dough with real gluten structure, a long patient fermentation, and a blast of heat hot enough to make it puff and blister in under two minutes. Skip any one of those pillars and you get a flat, cracker-like edge instead of the airy, leopard-spotted rim you’re after.
TL;DR:
- Achieving the characteristic puffed cornicione requires well-hydrated dough, long cold fermentation, and extremely high oven heat.
- Leopard spots form only on raised, blistered areas with small, dark char marks, requiring high hydration, proper fermentation, and near-800°F surface temperatures.
- Using Tipo 00 flour and hydration levels between 65% and 72% significantly improve the dough’s ability to develop airy, blistered rims.
- Cold fermentation for around 48 hours with less yeast yields larger bubbles and better cornicione structure, especially if the dough is rested properly before shaping.
- Most heat-related failures stem from inadequate oven temperatures; preheating a stone or steel for at least 45 minutes and broiling in the final seconds can maximize blistering and spotting.
Table of Contents
- What Is Cornicione in Neapolitan Pizza?
- How Do You Judge Leopard Spotting and Crumb Quality?
- Ingredients and Dough Fundamentals That Build the Rim
- Fermentation Timing: How Long Should Dough Rest?
- Shaping and Stretching Without Deflating the Rim
- Baking Setup for Real Leopard Spotting
- How Dough Dorks Products Help You Nail the Cornicione
- Why Most Advice on Cornicione Misses the Point
- Ready to Skip the Guesswork on Fermentation?
- Sources
What Is Cornicione in Neapolitan Pizza?
“Crust” is the lazy translation. Cornicione literally comes from the Italian cornice, meaning ledge or frame, and it refers specifically to the outer border of the pizza, not the whole base. The center stays thin, almost translucent in spots, while the rim puffs up into something closer to a small, charred cloud.
The Associazione Verace Pizza Napoletana treats this rim as a defining feature of the style, calling for a raised cornicione of roughly 1 to 2 centimeters as part of its Neapolitan pizza standard. That’s not arbitrary. A rim that size only forms when the dough has enough trapped gas to expand under intense heat before the structure sets.
You can judge a cornicione by sight and touch:
- It should look puffed and slightly irregular, not machine-uniform.
- The surface shows scattered dark blisters, not an even golden tan.
- Pressed gently, it feels light and springy, not dense.
- Torn open, the inside shows an open, irregular crumb full of air pockets.
How Do You Judge Leopard Spotting and Crumb Quality?
Leopard spotting is the pattern of small, dark, irregular char marks across the cornicione, named for its resemblance to big-cat markings. It shows up almost exclusively on the rim and the underside, rarely across the flat center, because those are the areas that puff up closest to the oven’s heat source.
Three factors have to line up to get it: high hydration, long cold fermentation, and extreme surface heat. Together they create thin-walled bubbles in the dough that char rapidly the instant they hit a very hot surface, according to Panovino’s breakdown of leopard spotting.
Good spotting is small, scattered, and concentrated on raised areas. Large blackened patches or a bitter, ashy taste mean the dough spent too long on the heat, according to ThatsMyPizza’s guide on Neapolitan leopard spotting.
Quick read on quality:
- Good: dime-sized dark spots, soft interior, faint char smell.
- Overbaked: coin-sized black patches, brittle rim, acrid smell.
- Underdeveloped: pale, uniform tan with no blistering at all.
Ingredients and Dough Fundamentals That Build the Rim
Flour choice sets the ceiling for what your cornicione can become. Tipo 00 flour, finely milled and widely available in the UK, gives you the elasticity and extensibility Neapolitan dough needs. A strong bread flour can work as a substitute, but it usually needs slightly less hydration to behave the same way.
Hydration is the second lever, and it’s the one most home bakers underuse. A range of 65% to 72% water relative to flour weight produces the larger, thinner-walled bubbles that blister well under heat, a relationship confirmed by research on dough fermentation and structure. Push hydration too low and the crumb stays tight and dense. Push it too high without matching technique and the dough turns unmanageable and sticky.
Building gluten strength is what lets that wetter dough actually hold its shape and trap gas instead of collapsing:
- Autolyse first: mix flour and water alone and let it rest 20 to 30 minutes before adding salt and yeast, which jumpstarts gluten formation with less kneading.
- Knead or fold deliberately: either a short, intensive knead or several rounds of stretch and fold builds the elastic network that holds bubbles in place.
- Rest between folds: give the dough 10 to 15 minutes between each fold so the gluten relaxes and doesn’t tear.
Pro Tip: Wet your hands before folding high-hydration dough. It stops the dough from sticking to your fingers and tearing the gluten strands you just spent 20 minutes building.
Fermentation Timing: How Long Should Dough Rest?
Fermentation is where flavor and rim structure both get built, and rushing it is the single most common reason home cornicione falls flat. A 48 hour cold fermentation is a reliable middle ground, long enough to develop the open, bubble-filled crumb Neapolitan pizza is known for, without pushing the dough past a manageable window, according to research on dough fermentation effects. Anywhere from 24 to 72 hours in the fridge works, with 48 hours hitting the sweet spot most home bakers find easiest to plan around.
Less yeast, not more, is the trick. A smaller amount of yeast combined with cold fridge temperatures slows the whole process down, giving gluten time to develop and gas bubbles time to grow large instead of small and uniform. Rush it with a warm kitchen and a heavy dose of yeast, and you’ll get rapid, even fermentation that produces a tighter, less dramatic bubble structure.
You’ll know the dough is ready when a few signs show up together:
- It stretches into a thin, translucent windowpane without tearing.
- The surface shows visible gas bubbles just under the skin.
- It smells faintly sour and yeasty, not flat or raw.
- It’s noticeably puffier and lighter to lift than when it went into the fridge.
Shaping and Stretching Without Deflating the Rim
Shaping is where a lot of careful fermentation work gets undone in about ten seconds of overhandling. The goal is simple: move gas from the center of the dough out toward the edge, and never touch that edge again.
- Press from the center outward with your fingertips, working in a spiral, and deliberately leave the outer inch untouched so it keeps its trapped gas.
- Skip the rolling pin entirely. It crushes bubbles evenly across the whole disc, which is exactly what flattens a cornicione before it ever sees the oven, a point echoed in The Pizza Heaven’s guide to shaping cornicione.
- Transfer to a floured peel with quick, confident motions, then load it into the oven without hesitating so the shape doesn’t slump.
- Rotate the pizza a quarter turn every 20 to 30 seconds during the bake to encourage even puffing and spotting all the way around the rim.
Baking Setup for Real Leopard Spotting
Heat is the pillar most home ovens genuinely struggle with. Wood-fired Neapolitan ovens hit surface temperatures near 800°F, and that extreme heat is what makes leopard spotting possible, according to Panovino’s technical guide. A standard domestic oven, even maxed out, usually tops out closer to 500°F on its own, which is why a pizza stone or steel matters so much: it stores and radiates heat directly into the base, closing part of that gap.
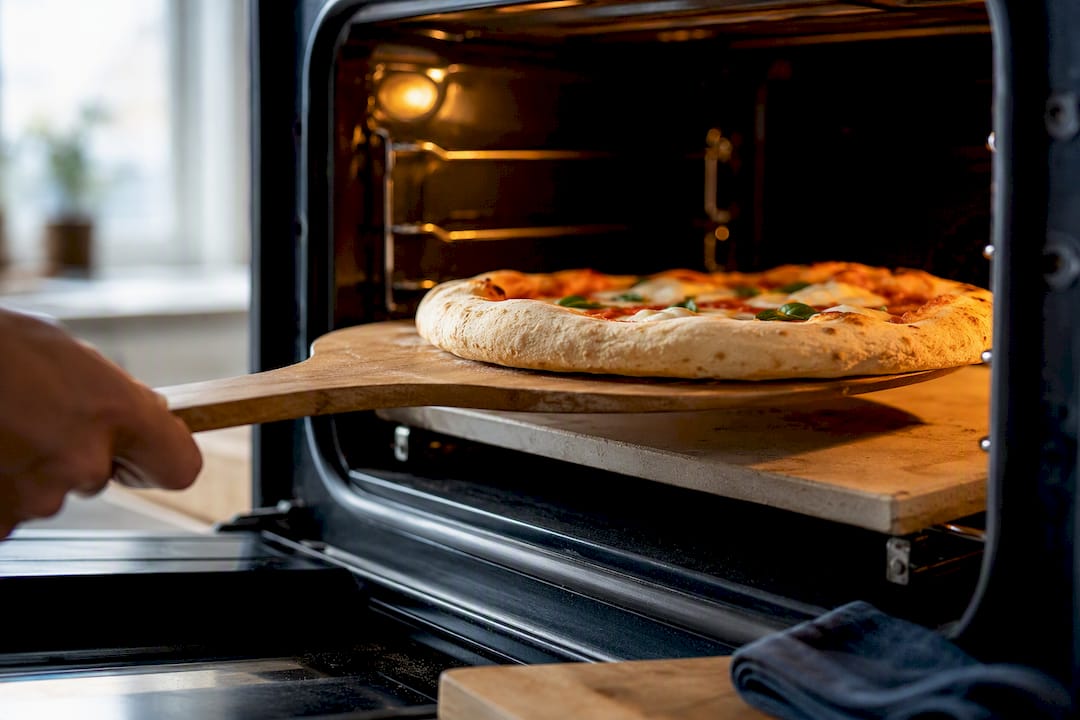
Realistically, research on heat transfer in baking confirms that home setups can approximate some Neapolitan effects but rarely reproduce the full 800 to 900°F blistering of a dedicated pizza oven.
Practical setup that gets you closest:
- Preheat a stone or steel for a full 45 to 60 minutes on the oven’s highest setting.
- Place the rack in the top third of the oven, close to the broiler element.
- Switch to broil for the final 60 to 90 seconds of the bake to hit the rim with direct top heat.
- Watch closely in that final window. Spots form fast, and another 15 seconds can turn a perfect char into a burnt one.
Cold dough straight from the fridge onto a very hot surface also helps, since the temperature gap maximizes oven spring before the crust sets, a detail worth remembering when you’re deciding whether to let dough come to room temperature first.
How Dough Dorks Products Help You Nail the Cornicione
Fermentation is the hardest variable to control at home, which is exactly why starting with dough that’s already done the work changes the outcome. Doughdorks’ 48hr Neapolitan Pizza Dough By Weight is fermented for the window this guide recommends, using Tipo 00 flour, fresh yeast, and extra virgin olive oil, so the gluten and gas structure are already built by the time it reaches your kitchen.
A few practical notes for using it well:
- Let the dough come to room temperature for roughly an hour before shaping, so it stretches without tearing.
- Handle it exactly like fresh dough: press from the center out, leave the rim alone.
- If your oven setup can’t reach the heat this style needs, a pre-cooked Neapolitan base gives you the structure without the same risk of a soggy or underdeveloped center.
Pro Tip: Don’t refrigerate the dough again once it’s out and resting at room temperature. That second temperature swing can deflate the bubbles you’re trying to protect.
Why Most Advice on Cornicione Misses the Point
Most guides treat leopard spotting like the whole goal, and that’s backwards. Spotting is a byproduct of getting fermentation, hydration, and heat right together. Chase the spots directly, by cranking the broiler and hoping, and you’ll usually end up with a burnt rim and a raw center.
The AVPN standard is useful precisely because it doesn’t obsess over char. It cares about a raised, characterful rim, which is a structural outcome, not a cosmetic one. If your dough has the right gluten development and enough time in the fridge, decent spotting tends to show up on its own once the heat is high enough.
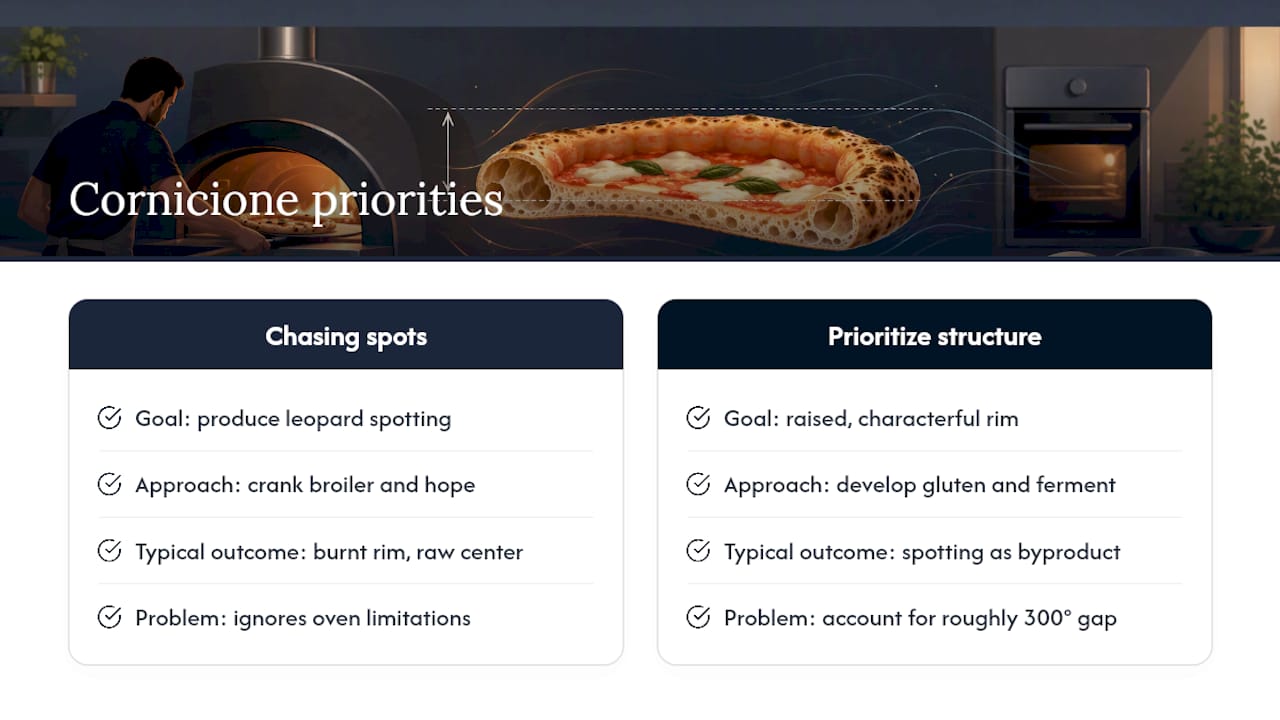
Where conventional advice really falls short is oven temperature expectations. Plenty of recipes promise Neapolitan results from a standard home oven with no mention of the roughly 300 degree gap between a domestic oven and a wood-fired one. That gap is real, and pretending otherwise sets people up to blame their technique when the equipment was the limiting factor all along.
If you’re starting out, prioritize fermentation and hydration before you worry about spotting at all. A well-fermented, well-hydrated dough baked in a merely decent home setup will still beat a rushed dough baked in perfect conditions.
— Michael
Ready to Skip the Guesswork on Fermentation?
Getting the fermentation window right is the part of this process that trips up even careful home bakers, since 48 hours in a fridge that runs a few degrees too warm can throw off everything downstream. Doughdorks’ 48hr Neapolitan Pizza Dough By Weight is fermented on that exact schedule using Tipo 00 flour and fresh yeast, so you can go straight to shaping and baking without managing the variable that causes the most failed cornicione attempts.

If your oven setup can’t reach the heat a raw dough ball needs, the pre-cooked Neapolitan pizza bases give you the same rim structure with far less risk of a soggy center. Either way, the techniques in this guide, hydration, timing, shaping, still apply once the dough or base arrives. Order a batch, plan your bake around a proper preheat, and see how close your home oven can actually get.
Sources
- Disciplinare 2024 (Associazione Verace Pizza Napoletana)
- How to get leopard spots on pizza — Panovino
- PMC9957212 — research on dough and fermentation effects
Recommended
- Authentic Pre-Cooked Neapolitan Pizza Bases pack of 4
- Authentic Neapolitan Pizza Dough Balls - Ready Made Box of 8
- 48-Hour Double Fermented Ready Made Neapolitan Pizza Dough Balls (Box of 12)
- Neapolitan Pizza Dough: Authentic Recipe for Home Ovens
READY-MADE • FROZEN • UK DELIVERY
Skip the mixing. Keep proper dough in your freezer.
48-hour fermented, individually proofed in their own pot and delivered frozen across the UK. Defrost, stretch, top and bake.
-
 48-Hour Neapolitan-Style Pizza Dough Balls – Box of 12
£22.88
48-Hour Neapolitan-Style Pizza Dough Balls – Box of 12
£22.88
-
 48-Hour Neapolitan-Style Pizza Dough Balls – Box of 20
£32.30
48-Hour Neapolitan-Style Pizza Dough Balls – Box of 20
£32.30
-
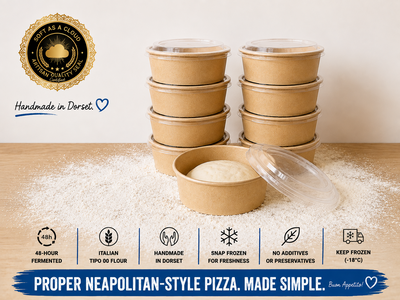 48-Hour Neapolitan-Style Pizza Dough Balls – Box of 8
£18
48-Hour Neapolitan-Style Pizza Dough Balls – Box of 8
£18
Handmade in Dorset • Free UK delivery over £50 • Free proofing pot with every dough ball