


How to Prepare Pizza Dough for Authentic Italian Flavour
- Paul McWilliam
- Dec 2, 2025
- 7 min read

Most british home cooks find authentic Neapolitan pizza out of reach, yet a few simple choices can make all the difference. Using the right ingredients and replicating traditional Italian methods unlocks a pizza experience miles ahead of takeaway options. With over 80 percent of pizza lovers saying homemade feels more rewarding, this guide walks you through clear, achievable steps for creating a classic Neapolitan dough in your own kitchen.
Table of Contents
Quick Summary
Key Point | Explanation |
1. Use high-quality ingredients | Opt for ‘00’ flour and natural yeast to achieve authentic Neapolitan pizza dough flavour and texture. |
2. Measure ingredients accurately | Weigh your flour, yeast, and water for precision, ensuring consistent results like professional bakers. |
3. Knead for proper gluten development | Knead the dough for 8-15 minutes until smooth and elastic for the perfect pizza structure. |
4. Allow adequate resting time | Let the dough rise in a warm area for 1.5 to 2 hours to develop flavour and texture fully. |
5. Preheat your oven correctly | Ensure your oven reaches its highest temperature and use a pizza stone for a crispy base. |
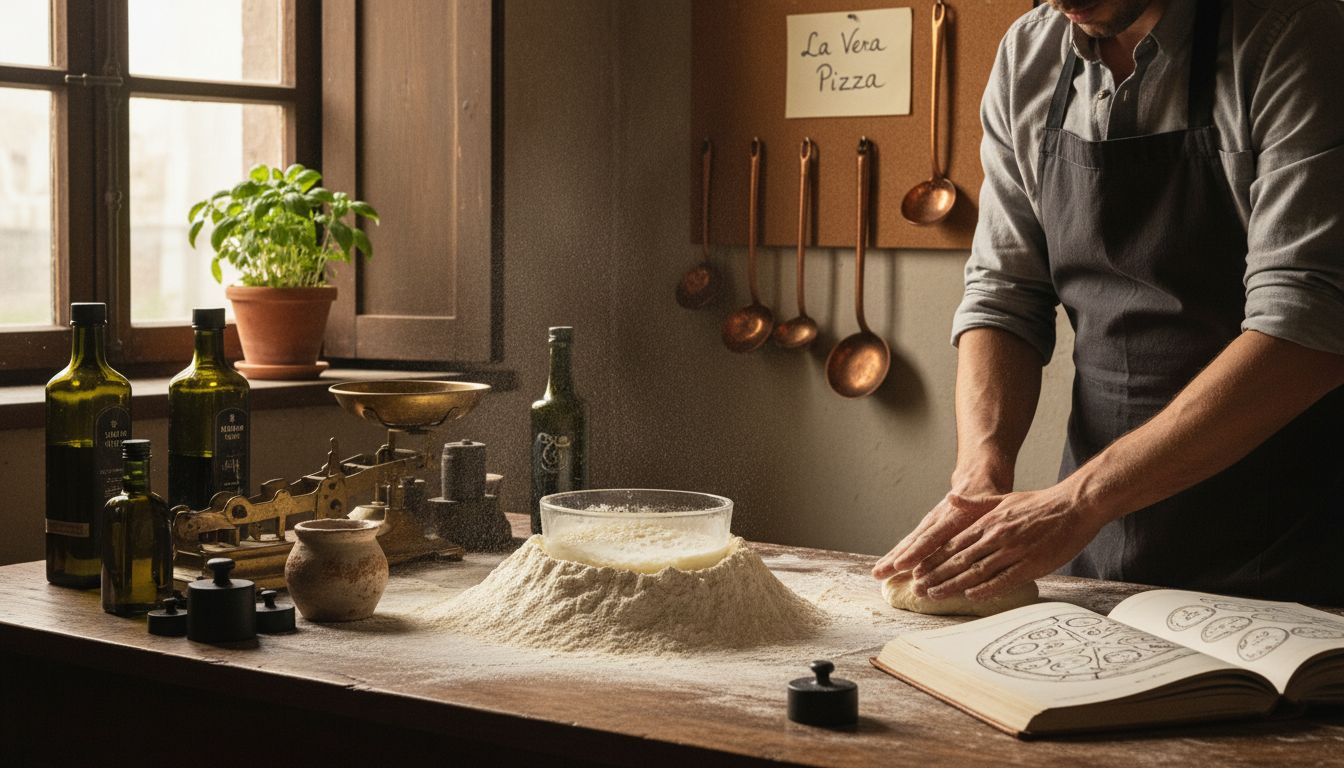
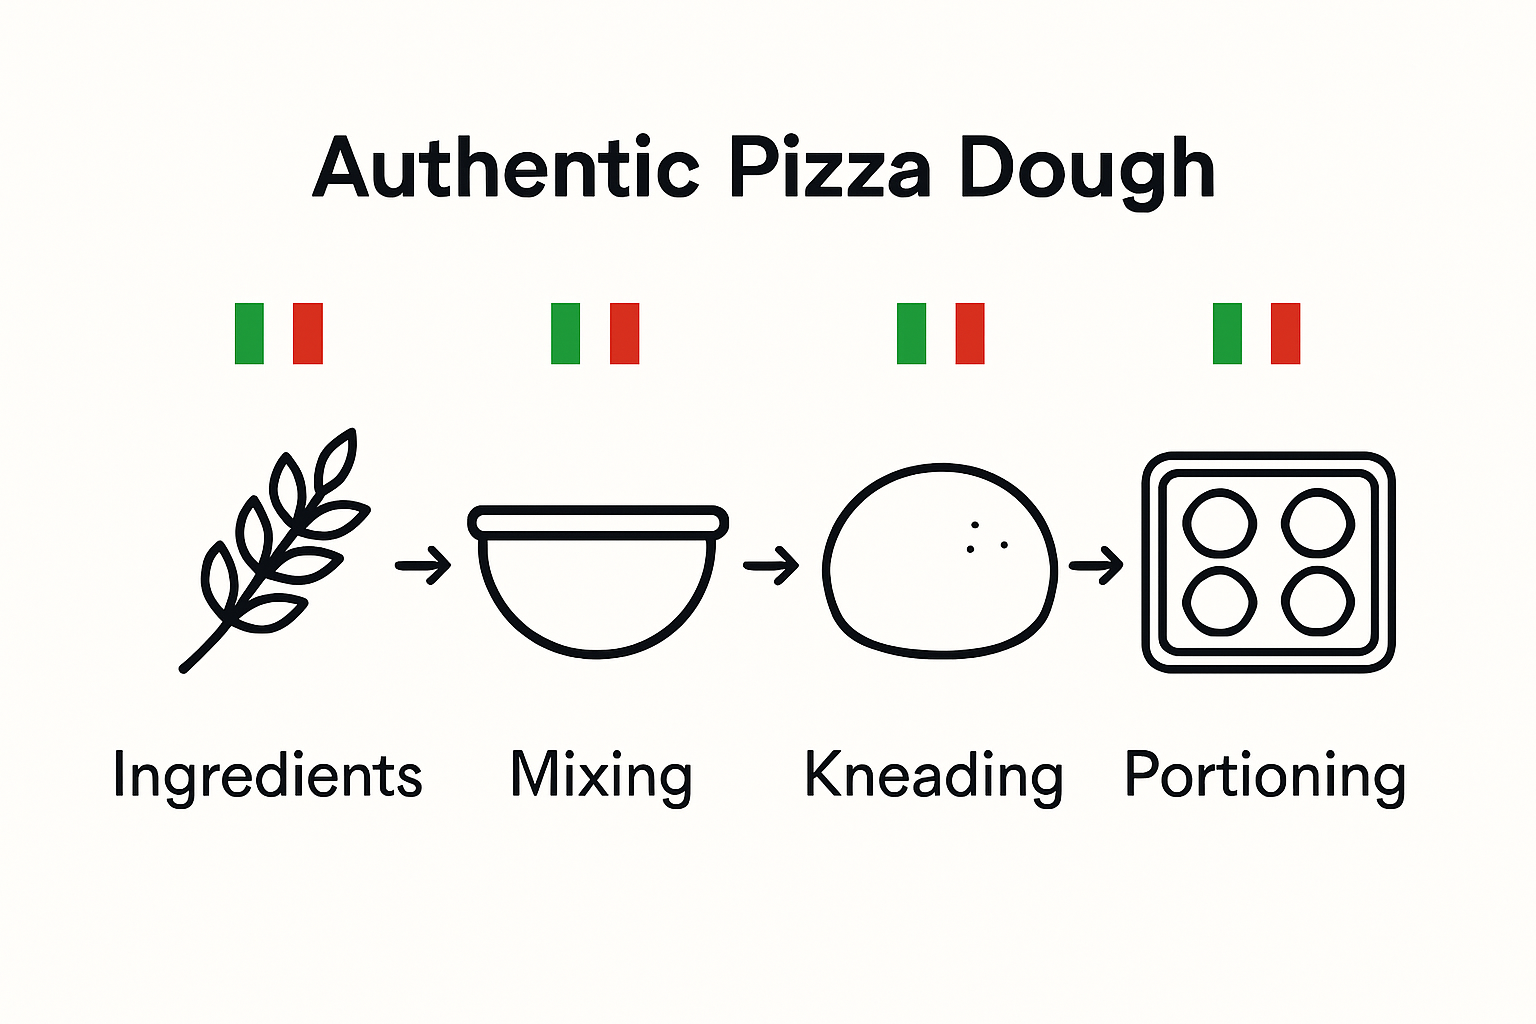
Step 1: Gather Authentic Ingredients and Equipment
Creating the perfect Neapolitan pizza dough starts with sourcing exceptional ingredients that honour traditional Italian techniques. You will want to assemble a collection of high-quality, authentic components that transform your homemade pizza from ordinary to extraordinary.
First, select your flour carefully. In Italy, ‘00’ flour represents the most refined and finest ground option available. This premium wheat flour provides the silky texture and delicate structure fundamental to authentic Neapolitan pizza. If you cannot source ‘00’ flour locally, all-purpose flour makes an acceptable substitute, though the texture might differ slightly.
For the most genuine experience, your dough must follow classic Neapolitan pizza principles: wheat flour, natural or brewer’s yeast, pure salt, and filtered water. Importantly, traditional Neapolitan dough remains completely fat-free and sugar-free, allowing the pure flavours of flour and yeast to shine through.
Pro tip: Invest in a reliable kitchen scale for precise measurements, as authentic Italian pizza making demands scientific accuracy. Digital scales ensure you replicate professional baker techniques right in your own kitchen.
With your ingredients assembled, you are now prepared to begin the magical transformation from simple components to a sublime pizza base that will transport your taste buds straight to Naples.
Step 2: Measure and Mix Pizza Dough Components Precisely
Transforming your carefully selected ingredients into an authentic pizza dough requires precision and technique. You will now embark on the crucial stage of measuring and combining your components with the care of a true Italian pizzaiolo.
Begin by preparing your yeast with care. Sprinkle the yeast into warm water, stirring gently until it dissolves completely. The water temperature is critical prepare it lukewarm, not hot, to ensure the yeast activates without being killed by excessive heat.
Next, create a classic Italian mixing technique known as the ‘flour volcano’. Pour most of your measured flour onto a clean work surface and shape it into a circular mound with a small crater in the centre. This traditional method allows you to gradually incorporate liquid ingredients while maintaining control over the dough’s consistency.
Carefully pour your dissolved yeast mixture into the centre of the flour volcano. Using a fork or your fingertips, slowly mix the liquid into the surrounding flour, progressively drawing more flour from the edges. This gradual approach prevents lumps and ensures an even, smooth mixture.
Pro tip: Always weigh your ingredients rather than measuring by volume. Professional bakers know that grams provide far more accuracy than cups or spoons, giving you consistently perfect dough every time.
With your ingredients now perfectly combined, you are ready to begin the transformative kneading process that will develop your dough’s signature texture and flavour.
Step 3: Knead and Rest Dough for Optimal Gluten Development
Kneading transforms your pizza dough from a simple mixture into a complex, elastic masterpiece. This critical stage develops the gluten network that gives authentic pizza its signature texture and structure.
Begin by placing your mixed dough on a clean work surface. Using the heel of your palm, push the dough away from you, then fold it back and turn slightly. Continue this rhythmic kneading process for 8 to 15 minutes, working the dough until it becomes smooth, soft, and wonderfully elastic. You will know you have achieved the perfect consistency when the dough springs back slightly when gently pressed.
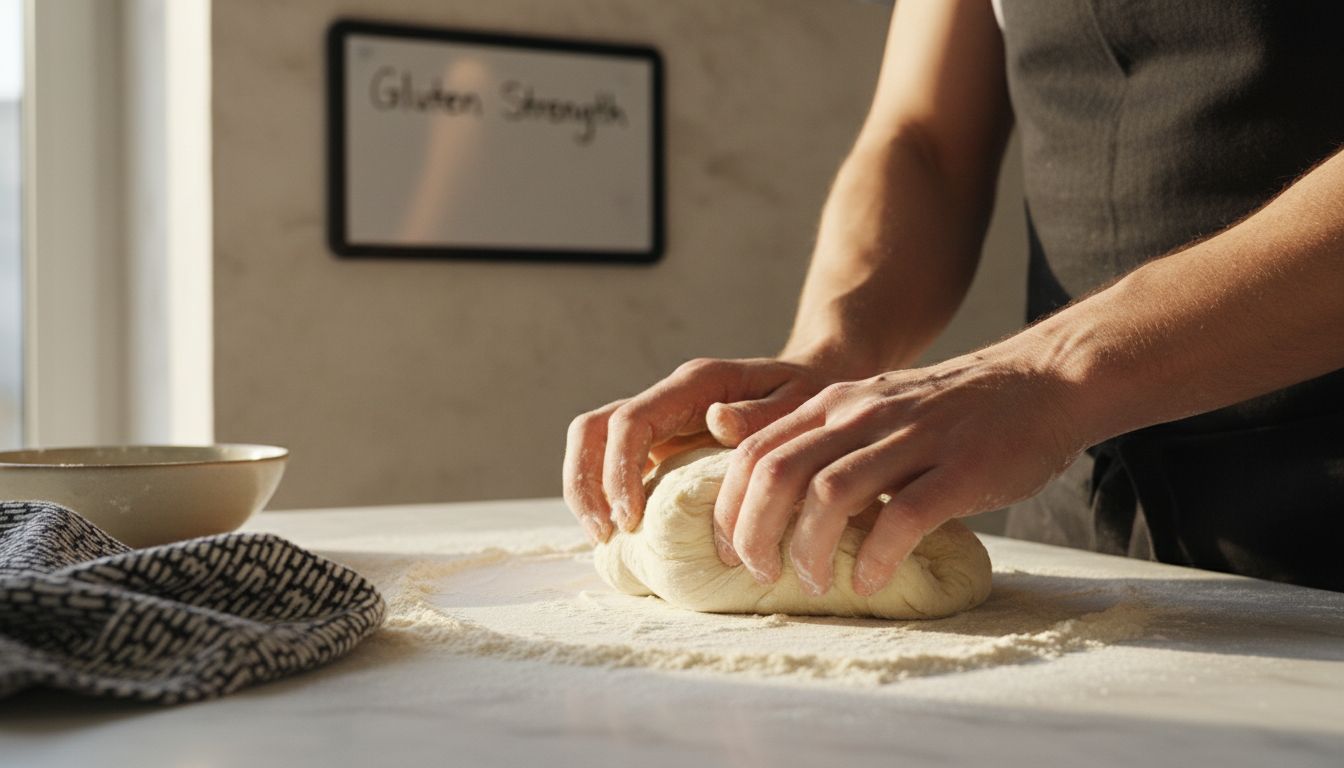
Once kneaded, you must allow the dough to rest and develop its flavours. Place the dough in a large bowl and cover it with a clean tea towel. Find a warm spot in your kitchen away from drafts perhaps near a gentle heat source like a radiator or warm windowsill. Let the dough rise for approximately 1.5 to 2 hours, or until it has doubled in volume.
Pro tip: Resist the temptation to rush this process. Patience during kneading and rising allows complex flavours to develop and ensures a light, airy pizza base with perfect texture.
With your dough now beautifully rested and expanded, you are ready to move on to shaping and preparing for the final transformation into a sublime pizza.
Step 4: Shape and Portion Dough Balls Evenly
The art of creating perfect pizza begins with precise dough portioning. Your risen dough is now ready to be transformed into individual pizza bases that will become the canvas for your culinary masterpiece.
Divide the risen dough into equal portions that will yield 2 to 3 medium pizzas. Using a sharp knife or dough scraper, cut the dough into consistent pieces. Gently shape each portion into a smooth ball by tucking the edges underneath and rolling it between your palms with a light, circular motion.
Let these dough balls rest, covered with a clean tea towel, for approximately 15 to 30 minutes. This resting period allows the gluten to relax, making the dough more pliable and easier to stretch. During this time, the dough will become soft and slightly puffy, preparing itself for the final shaping.
Pro tip: Consistency is key. Weigh each dough ball to ensure uniform size, which guarantees even cooking and a professional looking pizza. A digital kitchen scale will be your best friend in achieving precision.
With your perfectly portioned and rested dough balls, you are now ready to transform these simple rounds into thin, delectable pizza bases that will transport your taste buds straight to the streets of Naples.
Step 5: Check Dough Readiness and Prepare for Baking
Your carefully crafted dough has now reached its pivotal moment. This stage transforms your meticulously prepared pizza base from a simple ball of potential into a crisp, golden masterpiece ready for toppings and baking.
Preheat your oven to its absolute highest temperature, typically between 500 to 550°F (260 to 290°C). If you have a pizza stone, place it inside the oven during preheating to ensure an intensely hot cooking surface that mimics traditional wood fired ovens. The stone will radiate concentrated heat, creating that coveted crispy base characteristic of authentic Neapolitan pizzas.
Transfer your shaped dough onto a well floured pizza peel, taking care to maintain its delicate structure. Gently stretch the dough to your desired thickness, allowing it to relax naturally rather than forcing it. A well prepared base should be thin in the centre with a slightly thicker rim that will become a gloriously puffy crust.
Pro tip: The dough is ready when it feels light and elastic, springs back when gently pressed, and maintains its shape without immediately shrinking. If the dough resists stretching, let it rest for a few more minutes to allow the gluten to relax.
With your pizza base perfectly prepared, you stand on the threshold of creating an authentic Italian culinary experience that will transport your taste buds straight to the bustling pizzerias of Naples.
Discover the Secret to Effortless Authentic Pizza at Home
Mastering Neapolitan pizza dough is rewarding but precise measuring, kneading, and resting can feel time-consuming and challenging. You want that perfect elastic, airy base every time without struggling through the complex traditional steps described in the guide. The goal is restaurant-quality pizza with true Italian flavour, but convenience matters.

Why not simplify your pizza nights by choosing premium ready-made dough crafted with authentic Italian recipes? At Dough Dorks UK, we offer expertly prepared Neapolitan pizza dough balls made from finest Italian ‘00’ flour, fresh yeast, and filtered water to capture that perfect texture and flavour. Take advantage of our quality products for effortless preparation and try our specially designed pizza bases and ingredients to bring traditional taste and convenience together. Ready to impress family or guests? Visit us now and start crafting pizzas that transport you straight to Naples today.
Frequently Asked Questions
What is the best type of flour for authentic Italian pizza dough?
The best type of flour for authentic Italian pizza dough is ‘00’ flour, which offers a fine texture perfect for Neapolitan pizzas. If ‘00’ flour is unavailable, you can use all-purpose flour as a substitute, although the texture may differ slightly.
How can I ensure the yeast activates properly when preparing pizza dough?
To ensure the yeast activates properly, sprinkle it into warm water and stir gently until it dissolves completely. Make sure the water temperature is lukewarm, not hot, to prevent killing the yeast while activating it.
What technique should I use for mixing pizza dough ingredients?
Use the ‘flour volcano’ technique for mixing your pizza dough ingredients. Pour most of the flour onto a clean surface, create a crater in the centre, and gradually mix the liquid ingredients into the flour to avoid lumps.
How long should I knead the dough, and how will I know when it is ready?
Knead the dough for about 8 to 15 minutes until it becomes smooth, soft, and elastic. You will know it is ready when it springs back slightly when gently pressed, indicating good gluten development.
What should I do to prepare the dough for baking?
To prepare the dough for baking, divide it into equal portions and shape each into a ball, allowing them to rest for 15 to 30 minutes. This resting period helps the gluten to relax, making the dough more pliable and easier to stretch for your pizza base.
How do I check if the dough is ready to be shaped for pizza?
The dough is ready to be shaped when it feels light and elastic, springs back when pressed, and maintains its shape without shrinking quickly. If it resists stretching, let it rest for a few more minutes to relax the gluten further.


Comments